

How to Use the Countdown Timer Widget
The Countdown Timer displays a visual countdown on your stream. Use it for pre-show countdowns, segment timing, or counting down to a specific event.
When to Use
- “Starting soon” countdown before a show begins
- Counting down to a product launch or event start
- Timing a segment or break
- Triggering an automatic scene switch when time runs out
Steps
Step 1: Add the Countdown Timer
- Open the Layers tab. Apps work on both scene types:
- Dynamic Scene: expand Apps & Widgets -> Add from marketplace
- Pro scene: click Add New Layer -> Apps & Widgets
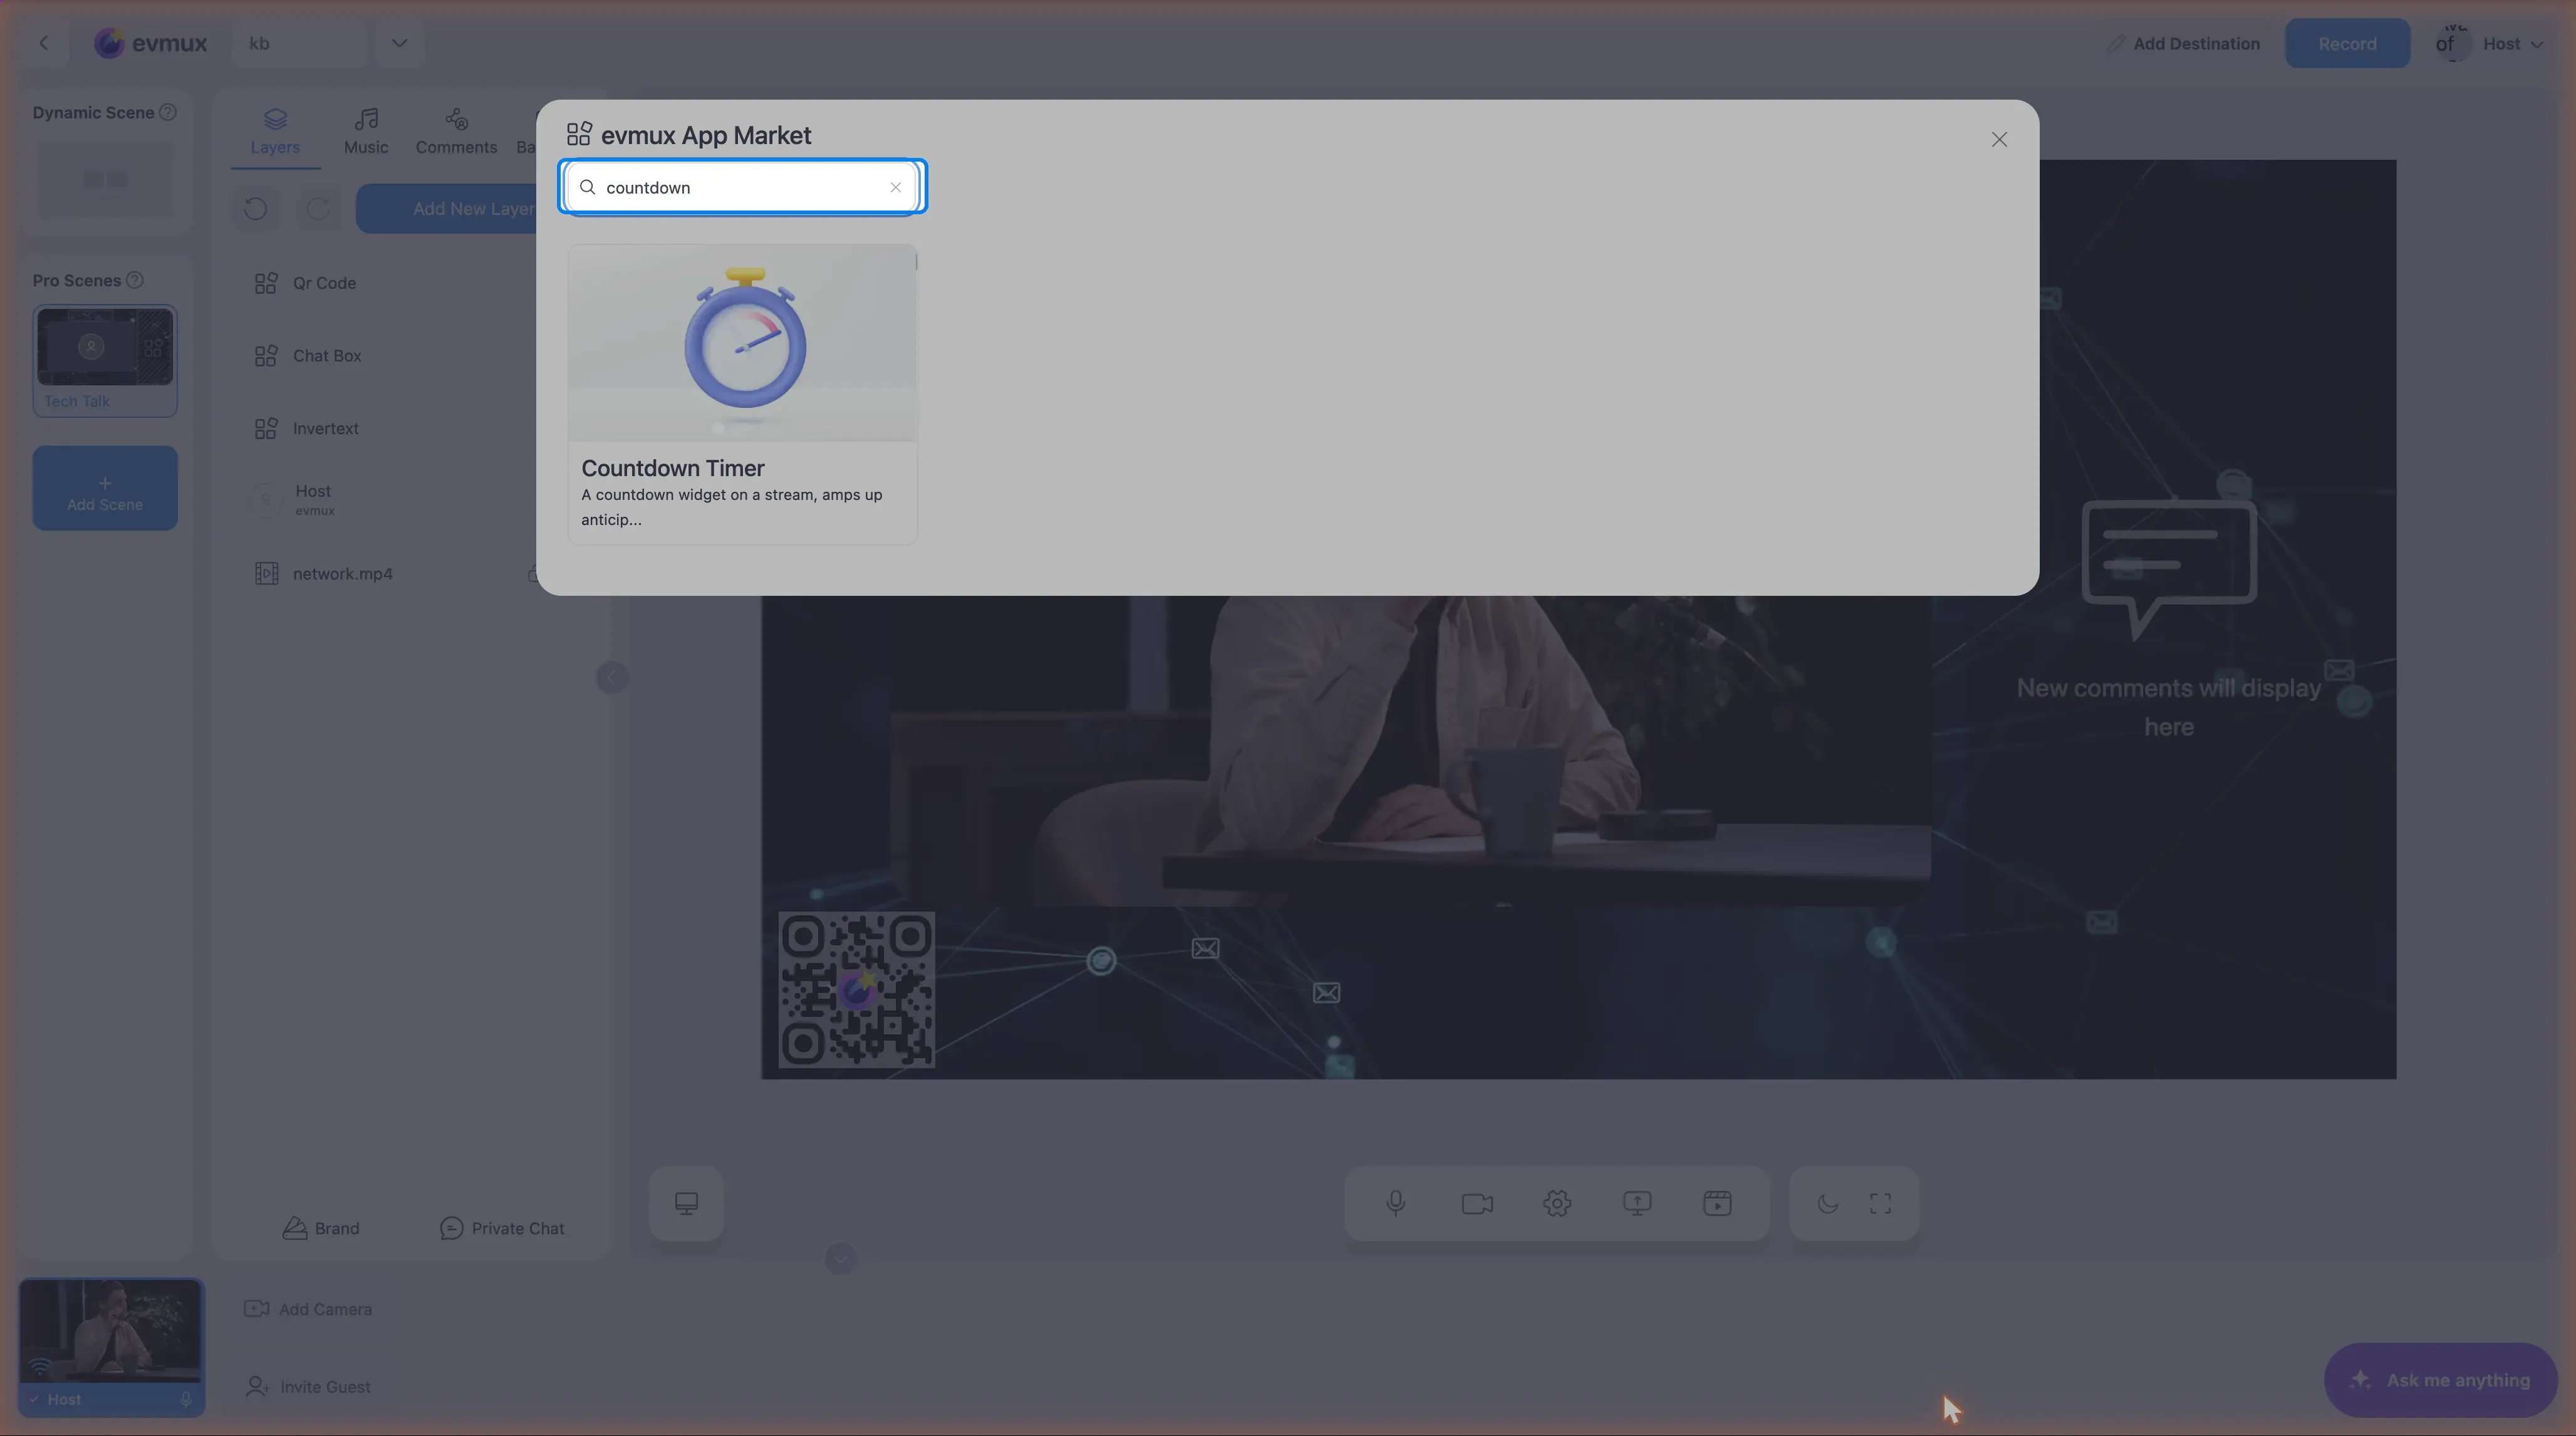
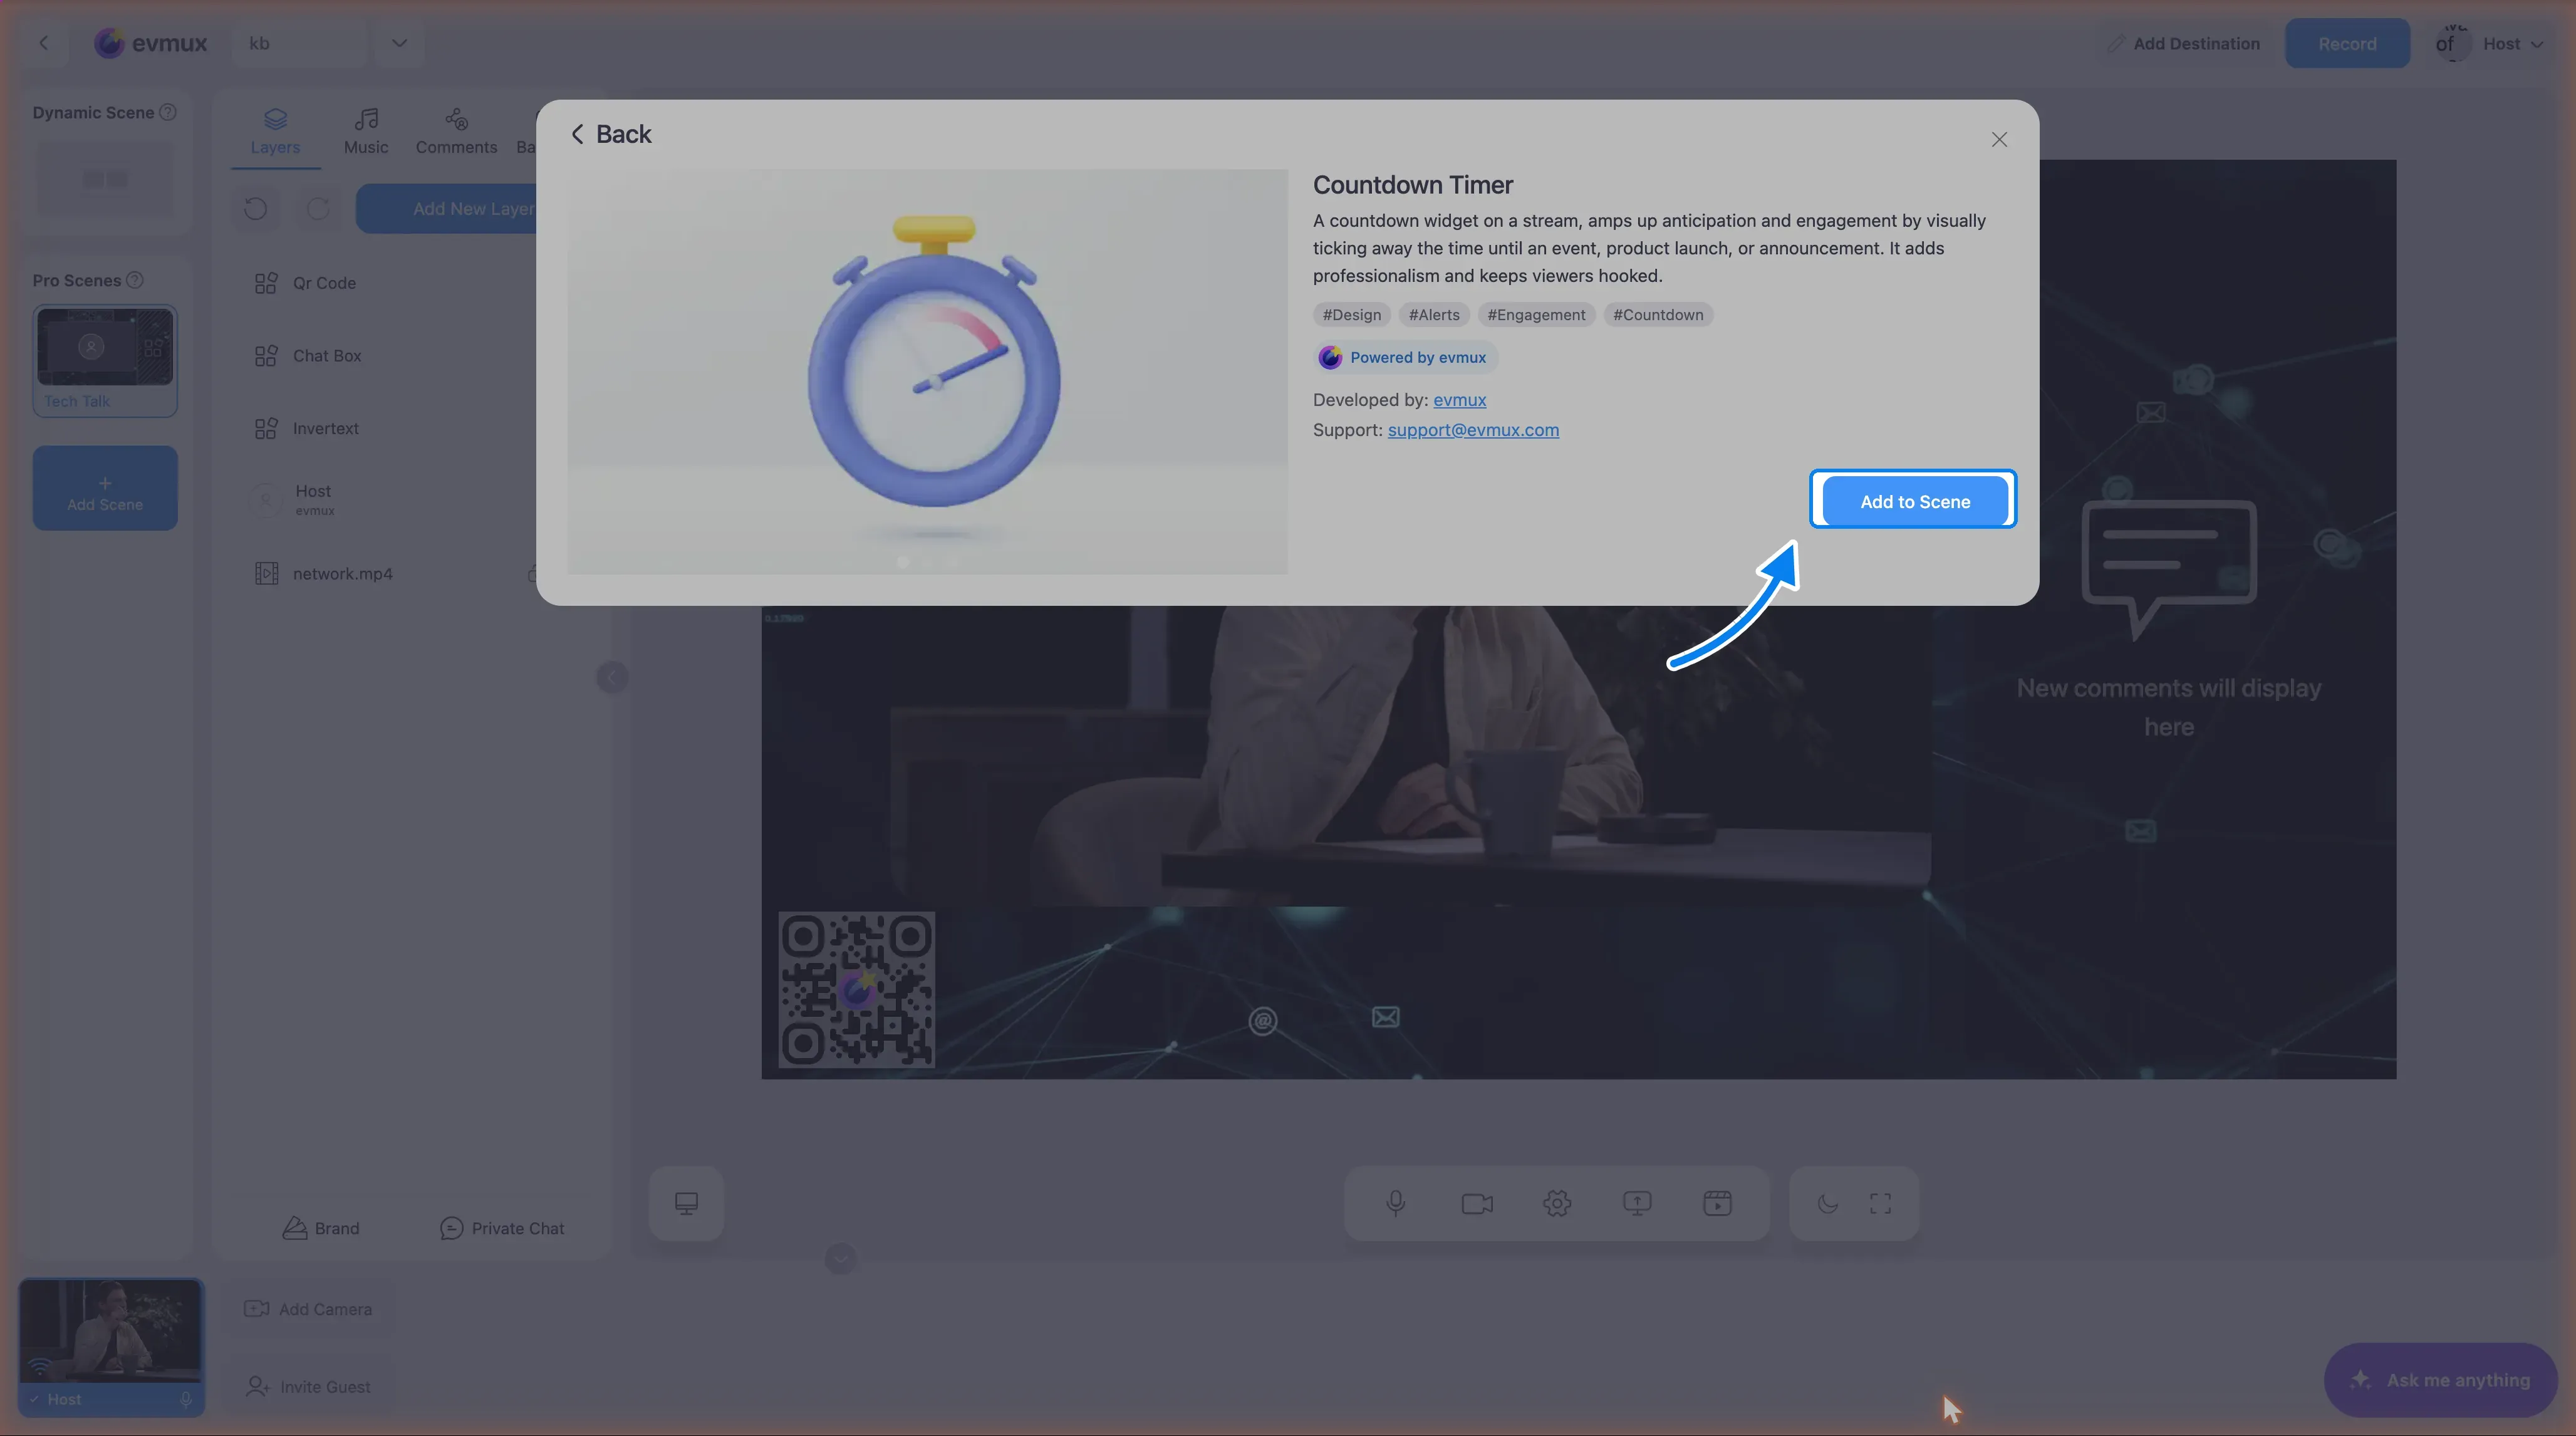
- Search for “Countdown Timer” and click to add it
Step 2: Choose Timer Type
The app’s settings open in the panel on the left as soon as it is added.
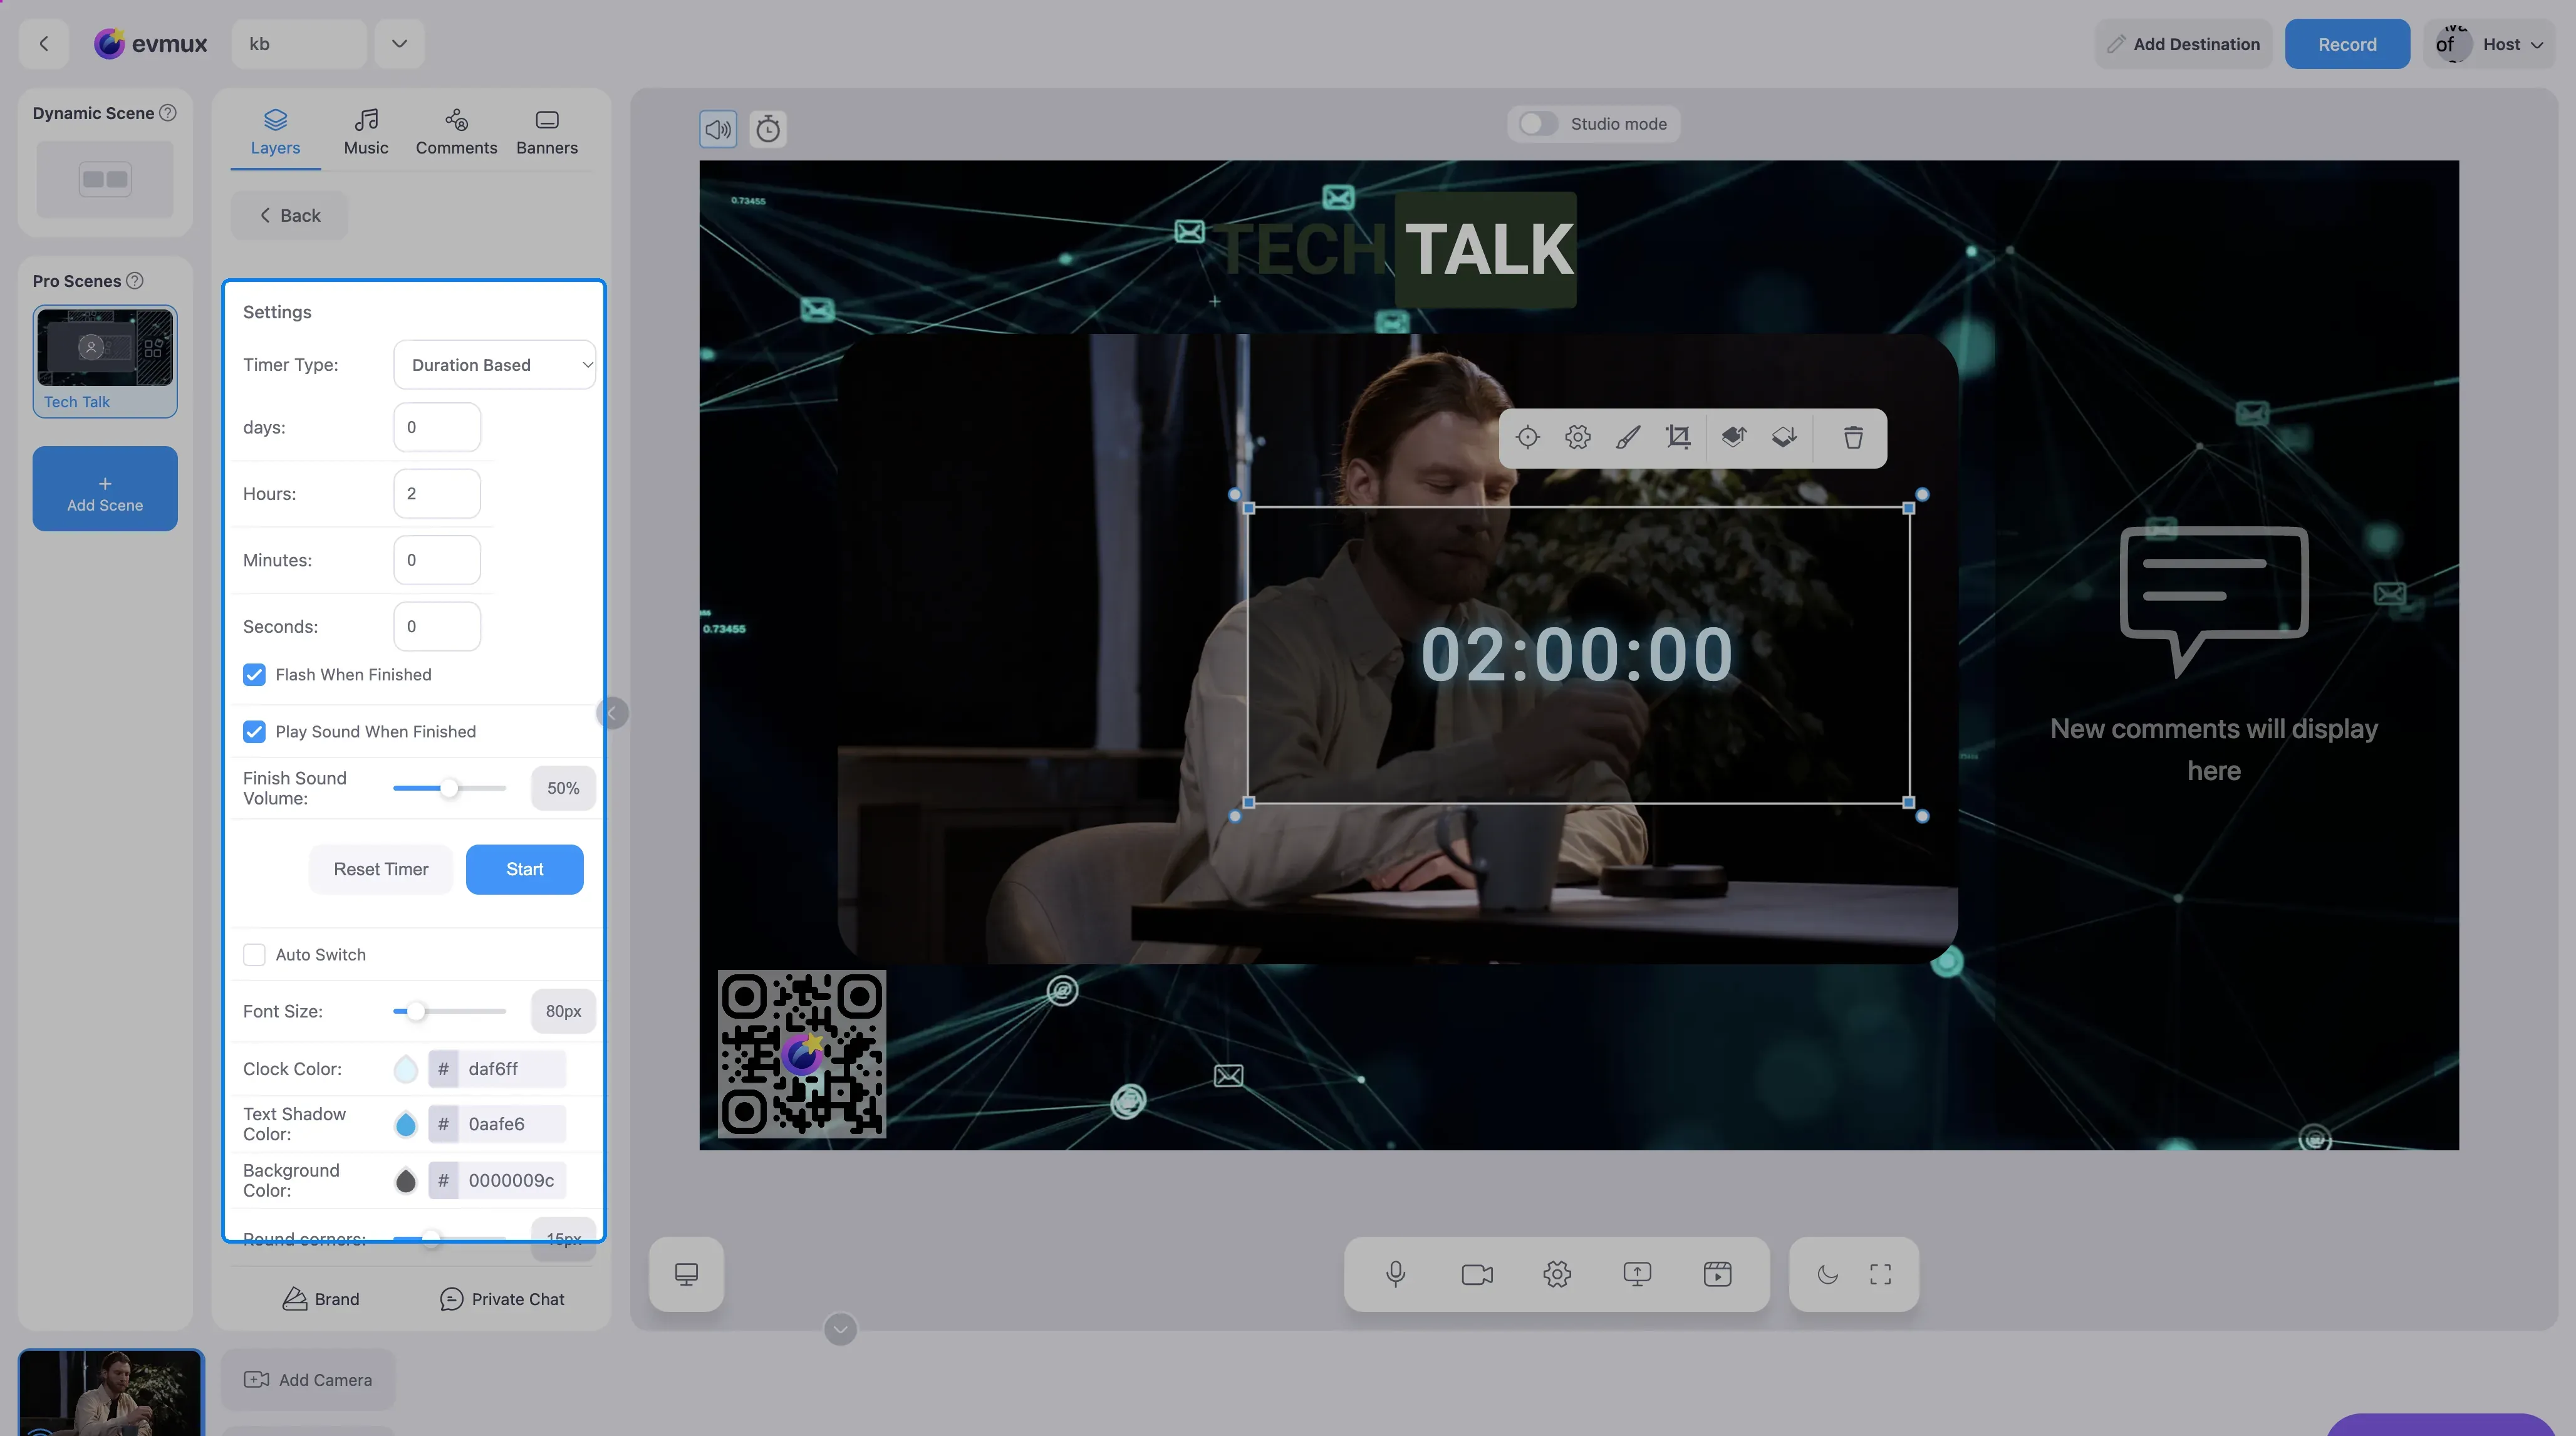
Simple Mode (Duration):
- Set specific Days, Hours, Minutes, Seconds
- Example: 0 days, 0 hours, 5 minutes, 0 seconds for a 5-minute countdown
Target Time Mode:
- Pick a specific date and time to count down to
- Example: Count down to a product launch at 3:00 PM on March 1st
Step 3: Configure What Happens When Timer Ends
| Setting | Default | Description |
|---|---|---|
| Play Sound | On | Play an alarm when timer reaches zero |
| Volume | 50% | Alarm sound volume (1-100%) |
| Flash | On | Flash the display when timer finishes |
| Auto Switch Scene | Off | Automatically switch to another scene |
Auto Switch Scene is powerful for automation:
- Enable Auto Switch Scene
- Select the target scene (e.g., your main show scene)
- When the countdown hits zero, evmux automatically switches to that scene
Step 4: Customize Appearance
| Setting | Default | Good For |
|---|---|---|
| Font Size | 80px | Increase to 200+ for full-screen countdown |
| Font Family | Roboto | Try Audiowide or Pirata One for themed shows |
| Text Color | #daf6ff (light blue) | Match your brand colors |
| Text Shadow Color | #0aafe6 (blue glow) | Creates a neon glow effect |
| Background Color | Dark transparent | Use transparent for overlay look |
| Border Radius | 15px | Set to 0 for sharp corners |
Step 5: Position and Size
- Drag the timer to your desired position
- Resize the layer to fit your scene layout
- For a “Starting Soon” screen, make it large and centered
Common Setups
“Starting Soon” Countdown
- Create a Pro Scene with your “Starting Soon” graphic
- Add the Countdown Timer widget
- Set it to 5 or 10 minutes
- Enable Auto Switch Scene → select your main show scene
- The timer counts down, then automatically switches to your show
Segment Timer
- Add the timer to your main scene
- Set a short duration (2-5 minutes)
- Keep it small in a corner
- Enable Flash and Sound as reminders
Event Countdown
- Use Target Time mode
- Set the exact date and time of your event
- Display shows days, hours, minutes, and seconds remaining
Tips
- 13 font options are available - some decorative fonts don’t support thickness adjustment
- The glow effect (Text Shadow Color) works great on dark backgrounds
- Use transparent background to overlay the timer on other content
- Auto Switch Scene is perfect for automating show starts
- Combine with a “Starting Soon” scene for a professional pre-show experience