

Create a New Scene
A Pro Scene is a layout you design yourself: cameras, screen shares, media, text and apps placed exactly where you want them. This guide creates one, either empty or from a template.
Step 1: Click Add Scene
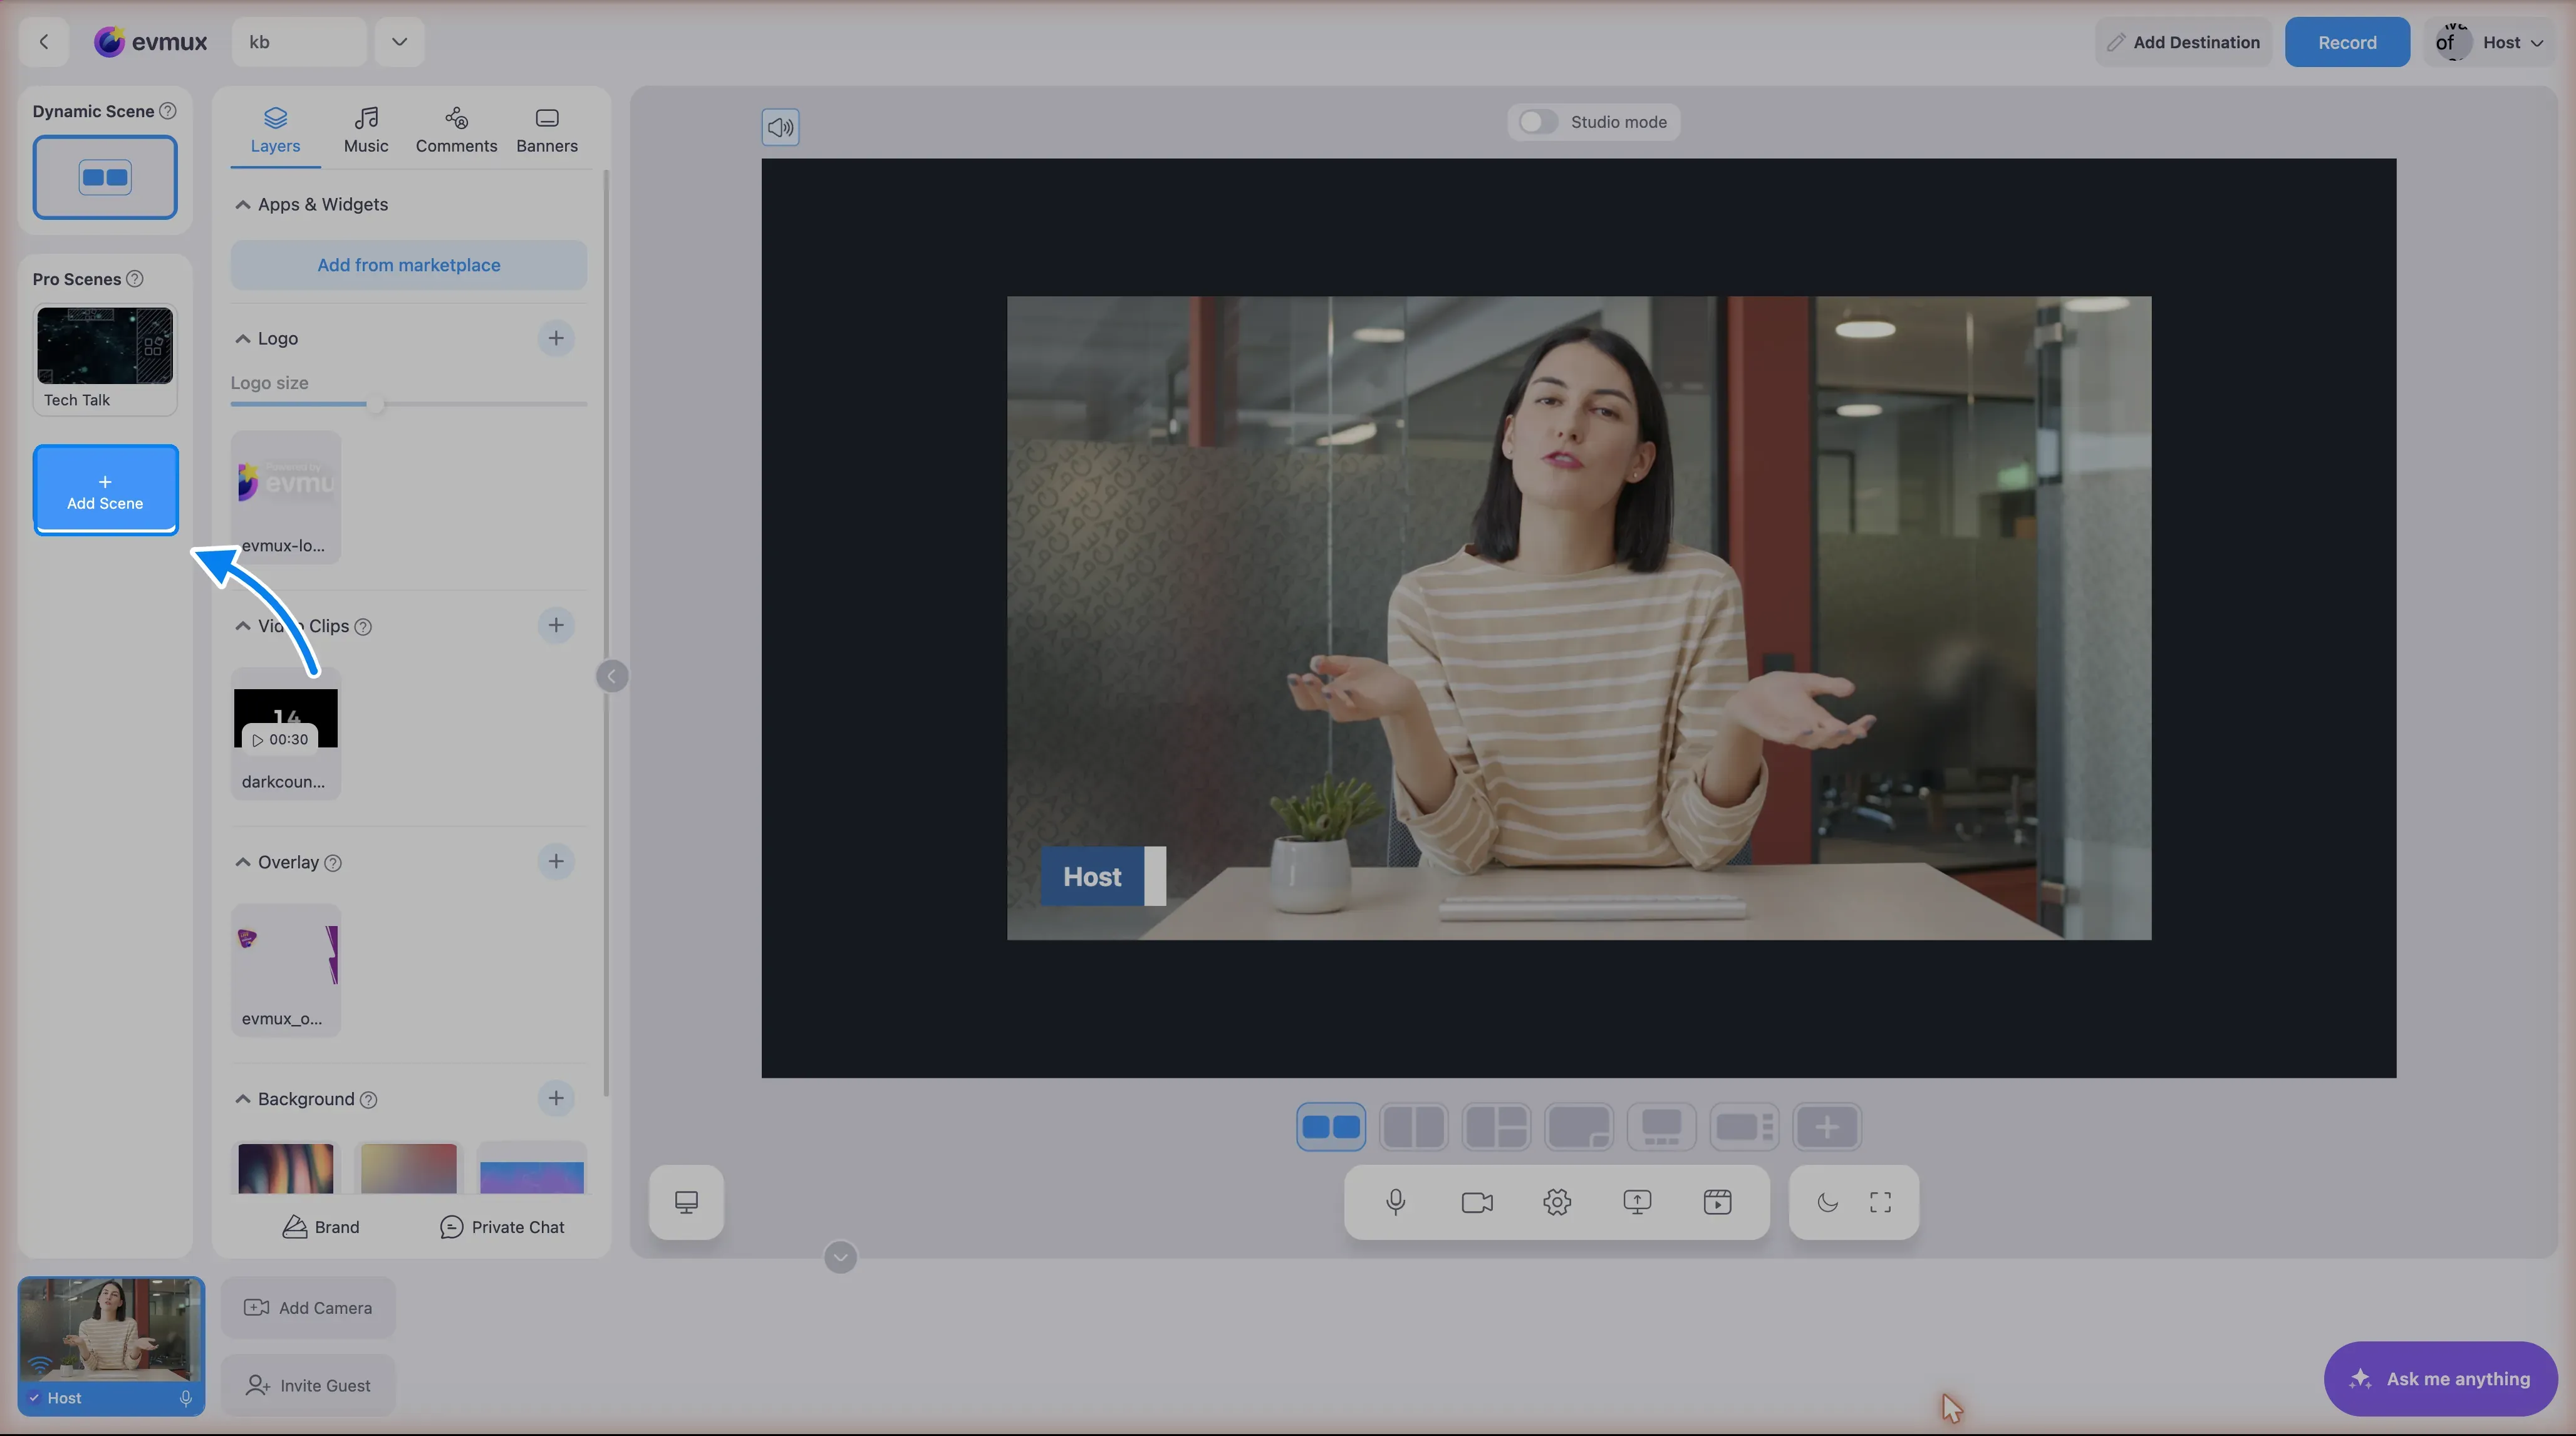
In the scenes column on the left, under Pro Scenes, click Add Scene.
Step 2: Name the scene and pick a starting point
The Create new Pro scene dialog opens.
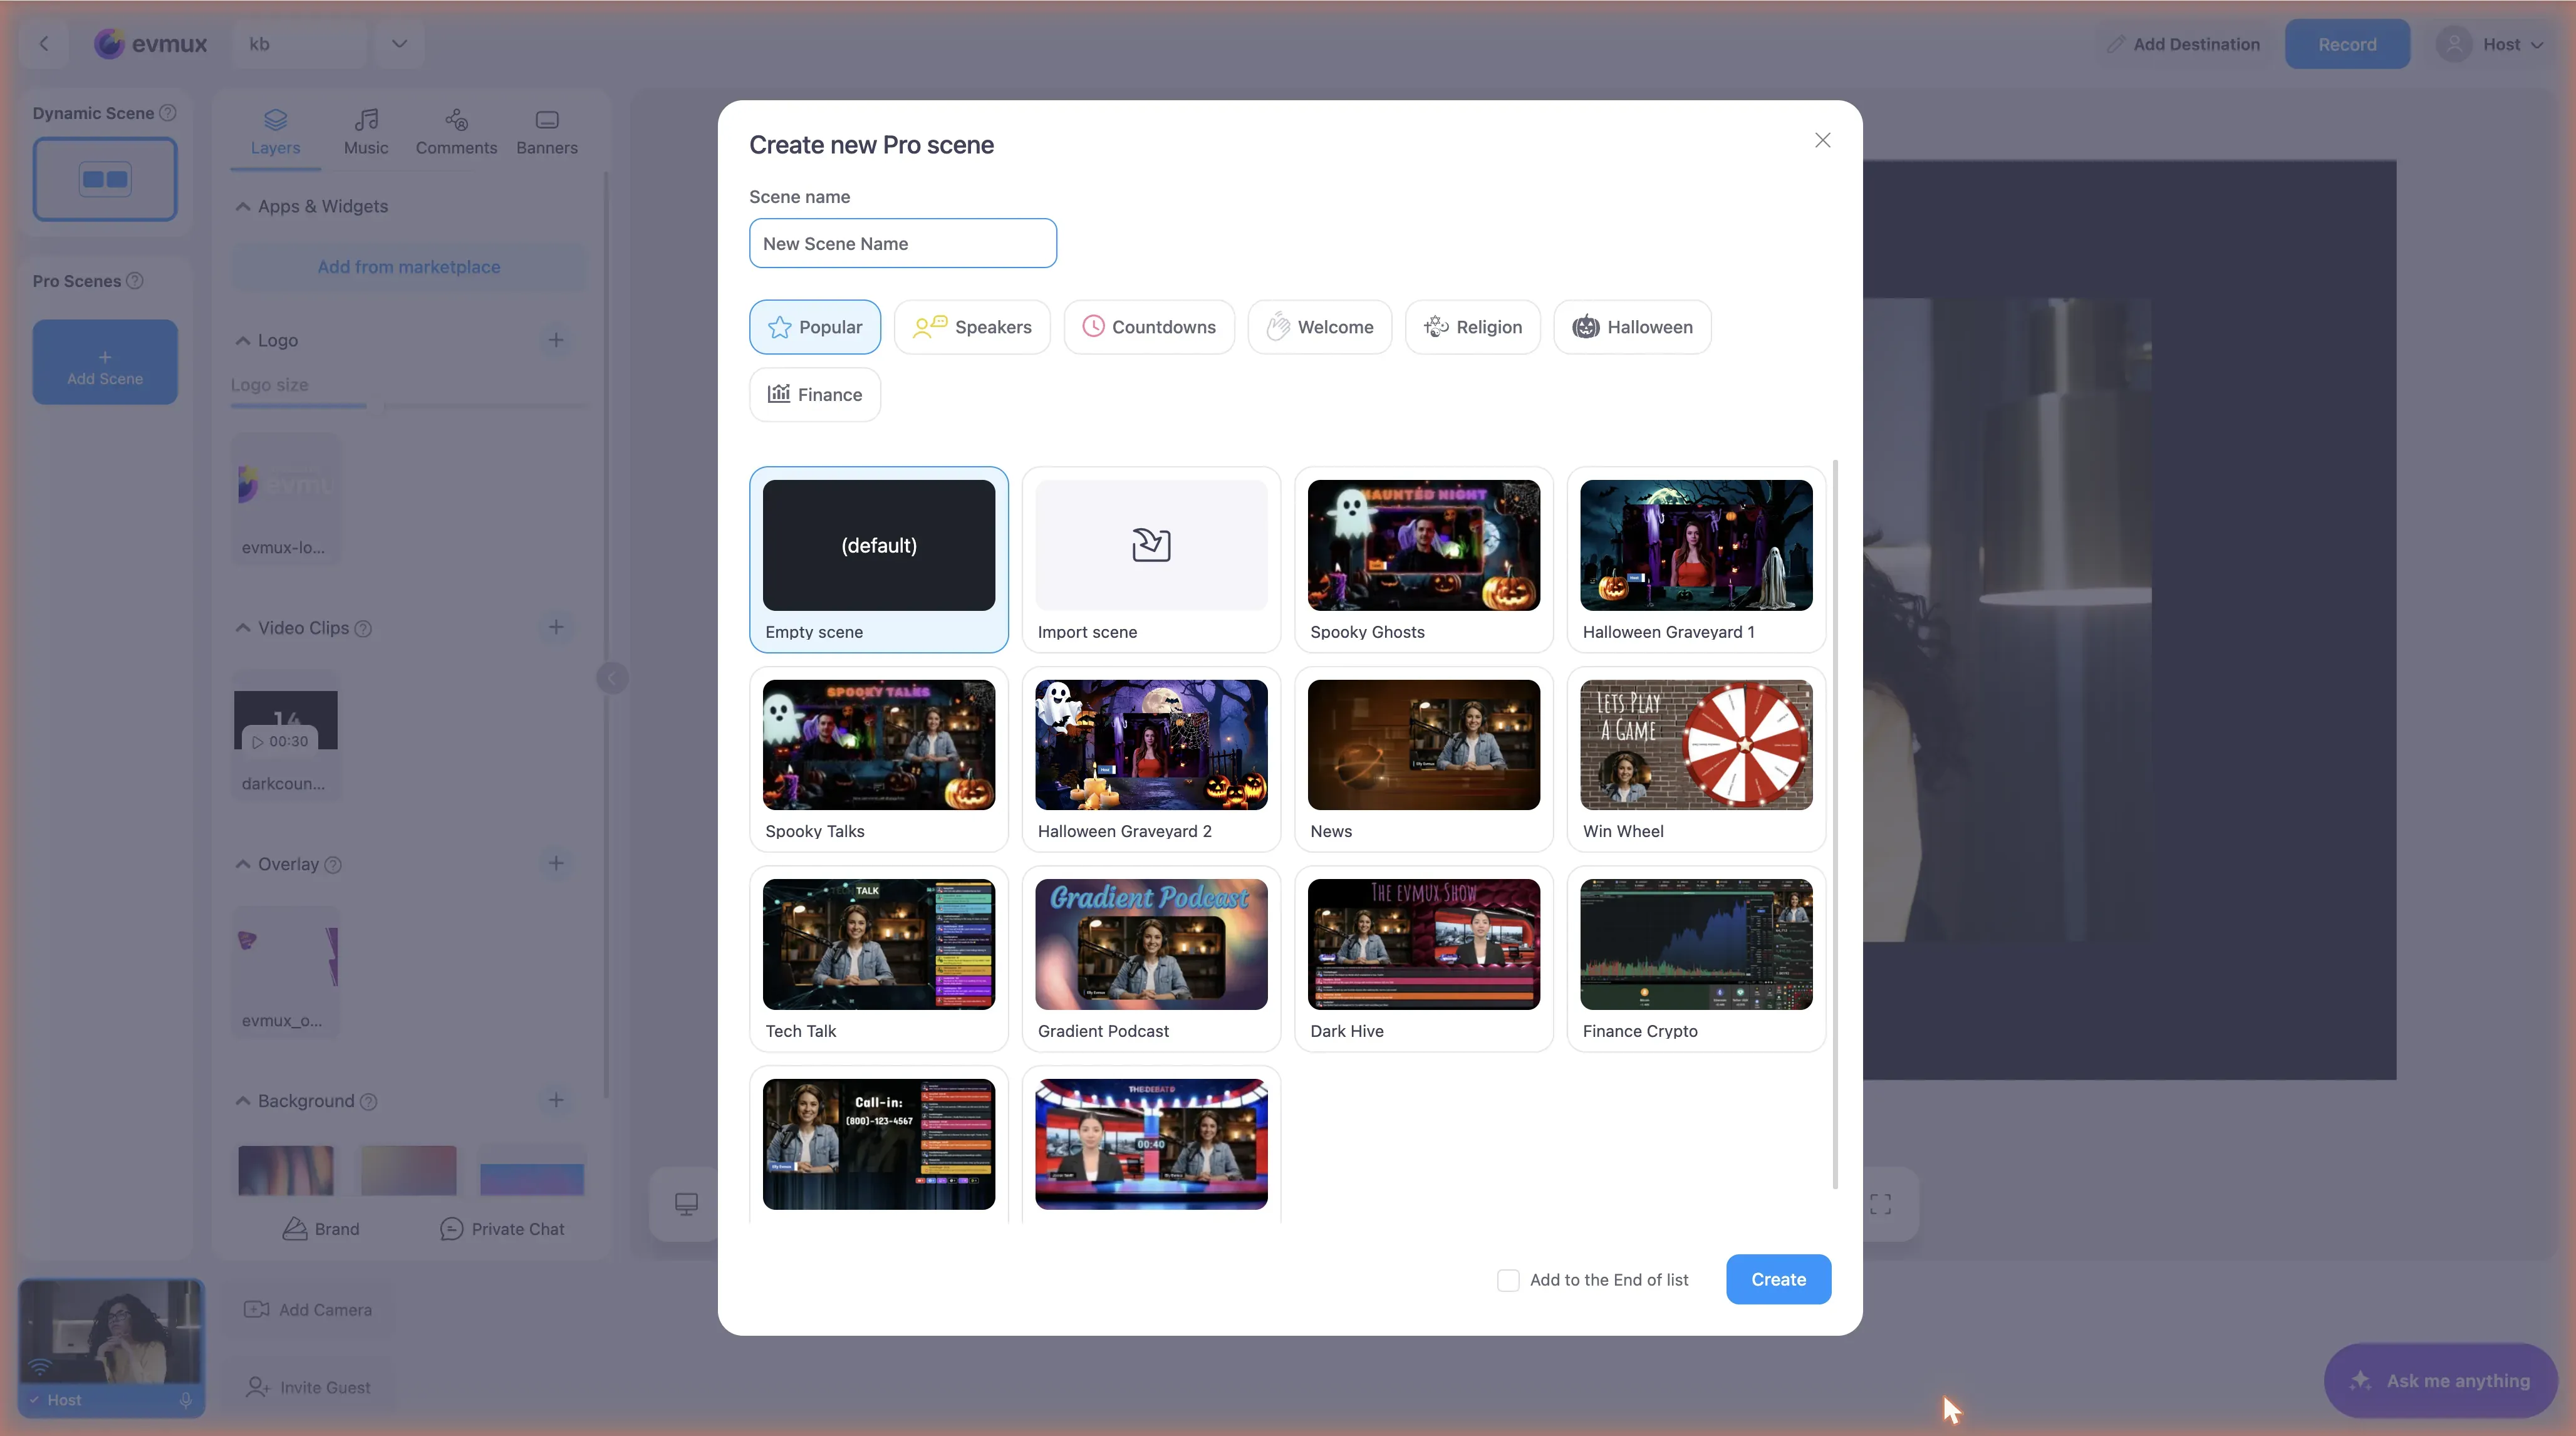
- Scene name: type a name that tells you what the scene is for, like “Interview” or “Intro”.
- Empty scene (the default) starts with a blank canvas.
- Import scene brings in a scene someone shared with you by its code. See Share a scene.
- Templates are complete scenes you can use as they are or edit. Browse them by category with the tabs above the grid: Popular, Speakers, Countdowns, Welcome and more.
Tick Add to the End of list if the new scene should go last. Otherwise it is placed right after the scene you have selected.
Step 3: Create
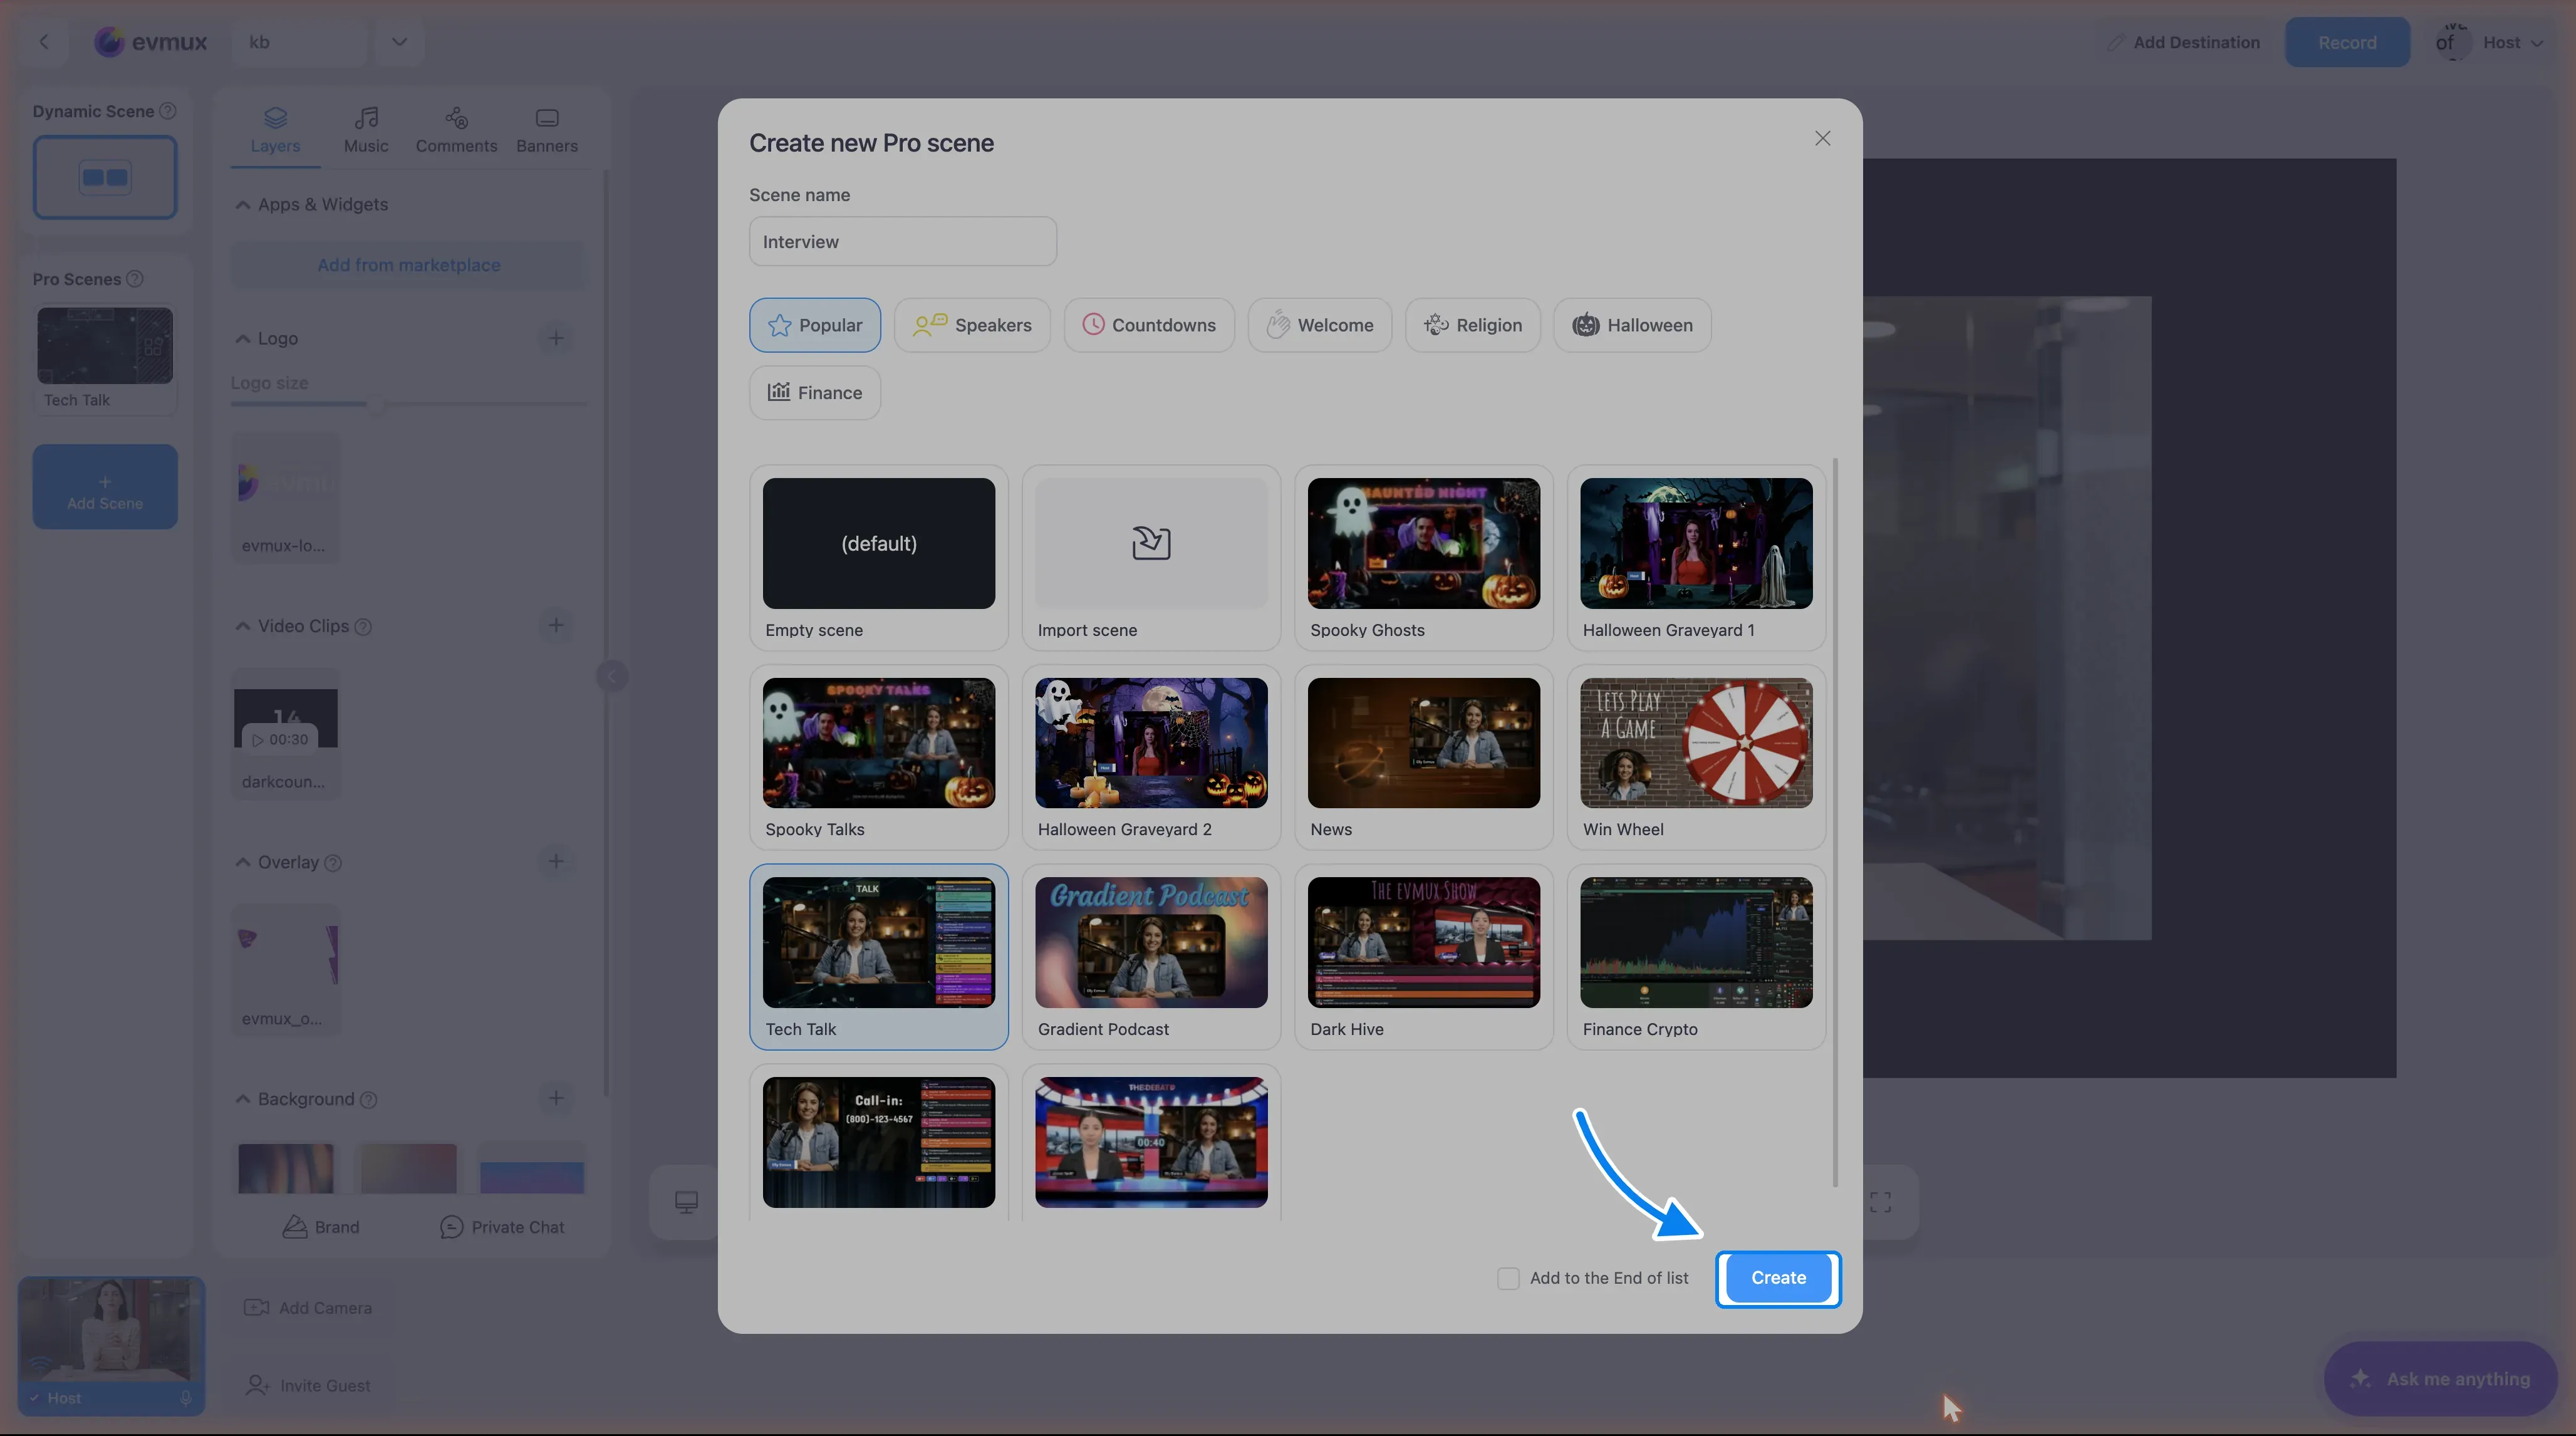
Click Create.
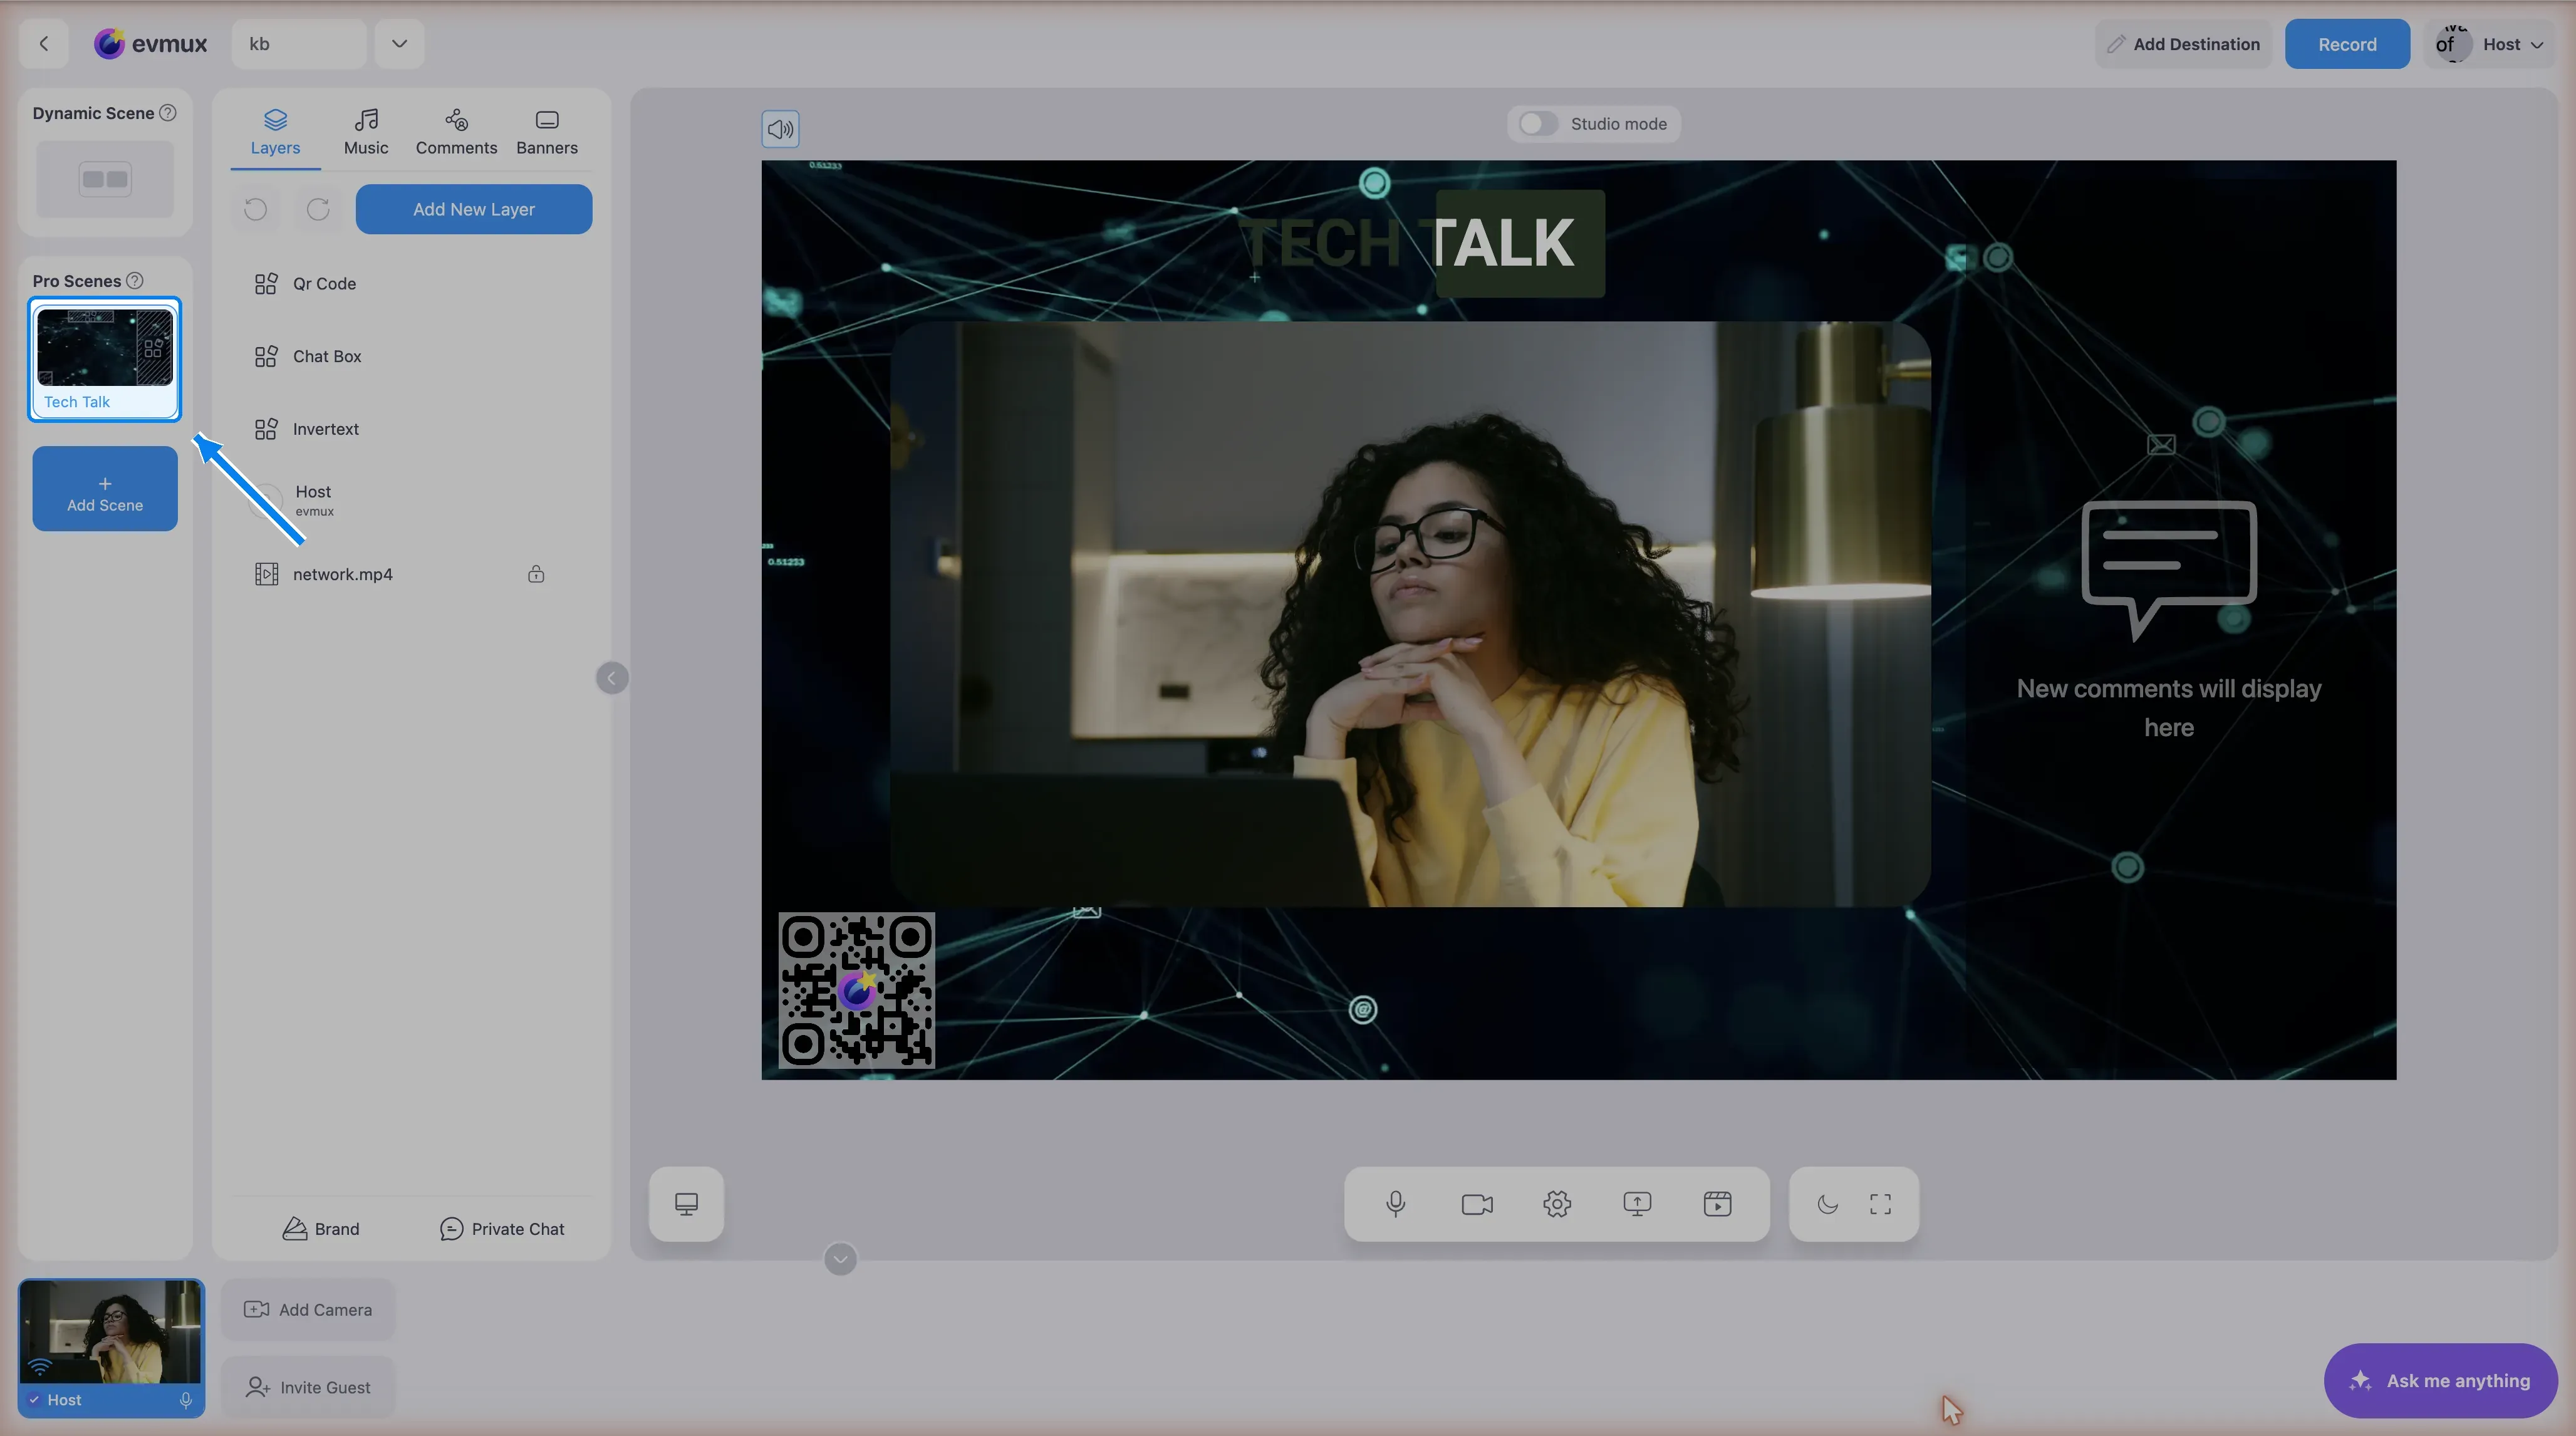
The new scene appears in the Pro Scenes list and opens in the editor. A template comes with its layers already in place: in the example below, a title, a chat box, a QR code, a background video and a participant layer for the host.
Next steps
- Add or rearrange layers: Layers
- Put a camera in the scene: Add a Camera Layer
- Show a screen: Share your screen
- Move between scenes on air: Switch Between Scenes