

How to Add a Logo to Your Broadcast
This guide shows you how to add your logo or branding to your broadcast as a persistent overlay.
Quick Steps
- Switch to the Dynamic Scene (required for logo)
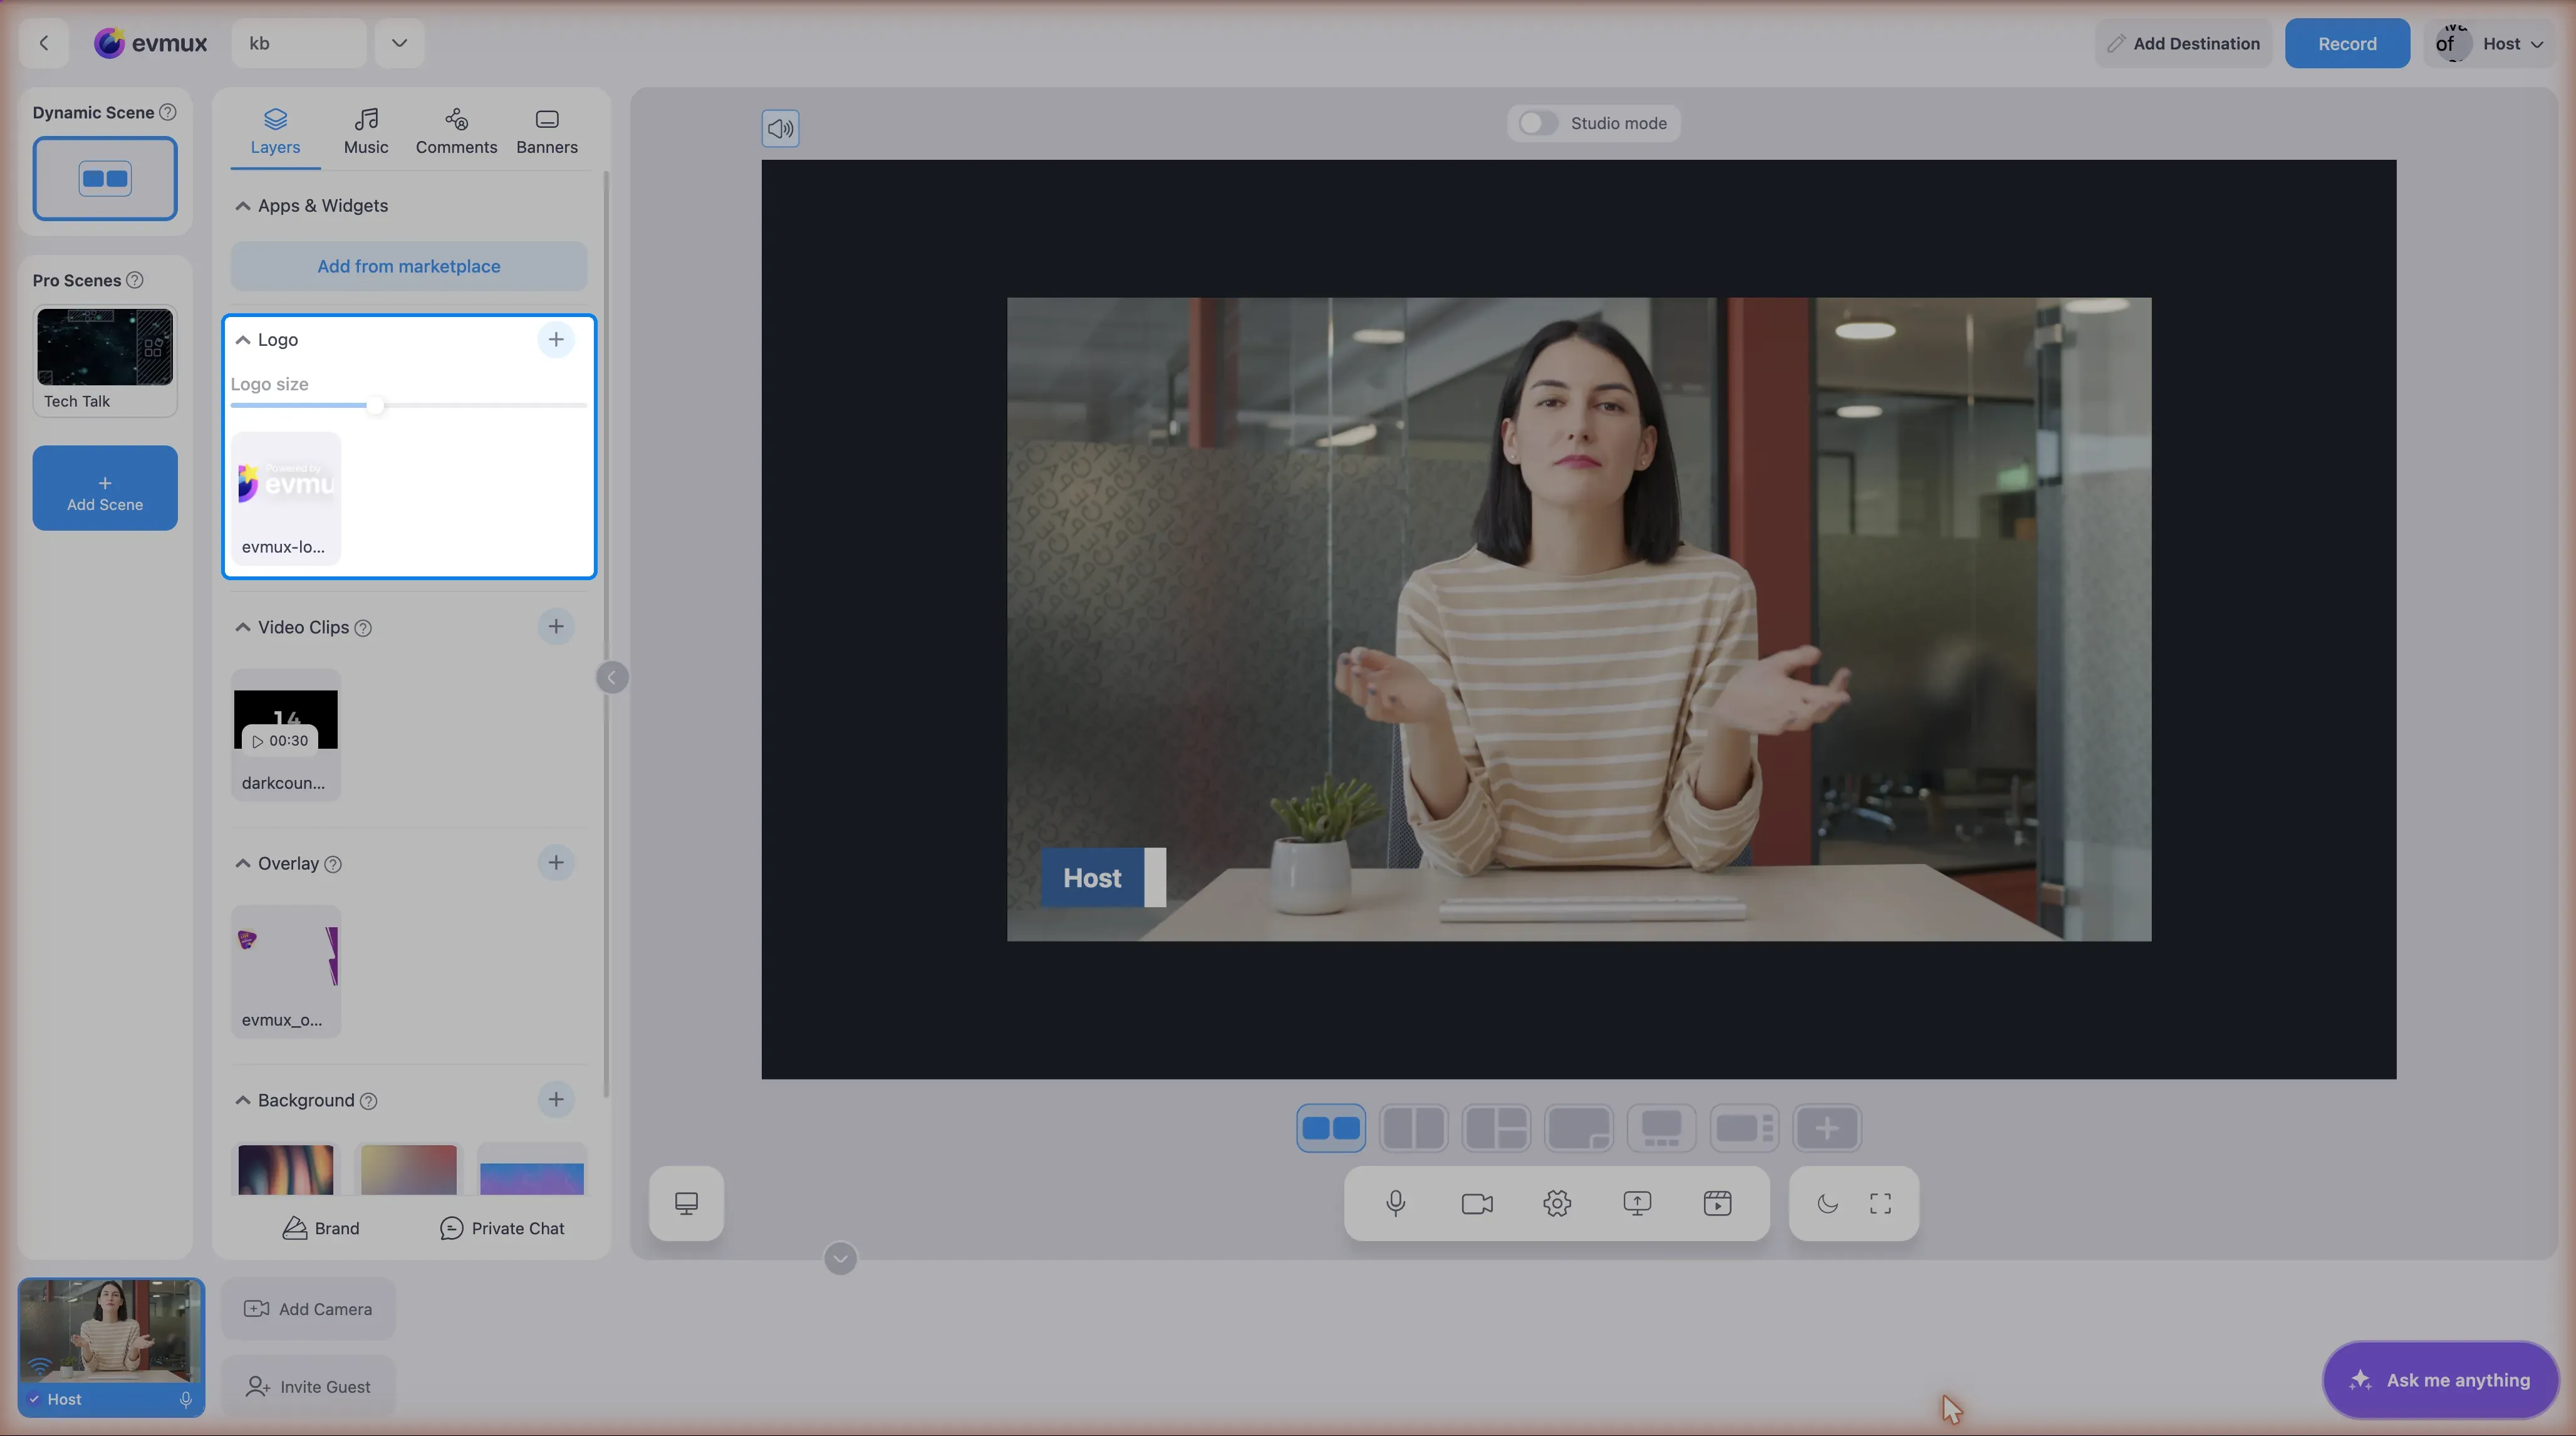
- Find the Logo section in the Layers panel
- Click + to upload or select a logo
- Click on your logo to activate it
- Adjust size with the slider (paid plans only)
Important: Logo Only Works in Dynamic Scene
The logo feature is only available in the Dynamic Scene (the first scene in your scenes panel). The logo appears in the top-right corner automatically.
Method 1: Using the Logo Section
Step 1: Switch to Dynamic Scene
- Click on the Dynamic Scene (first thumbnail in Scenes panel)
- The Logo section becomes available in the Layers panel
Step 2: Add a Logo
Option A: From Gallery
- Find the Logo accordion in the Layers panel
- Click the + button to add from gallery
- The media chooser opens in the panel, filtered to images. Pick one of your uploads, or use Add Media to upload a new file
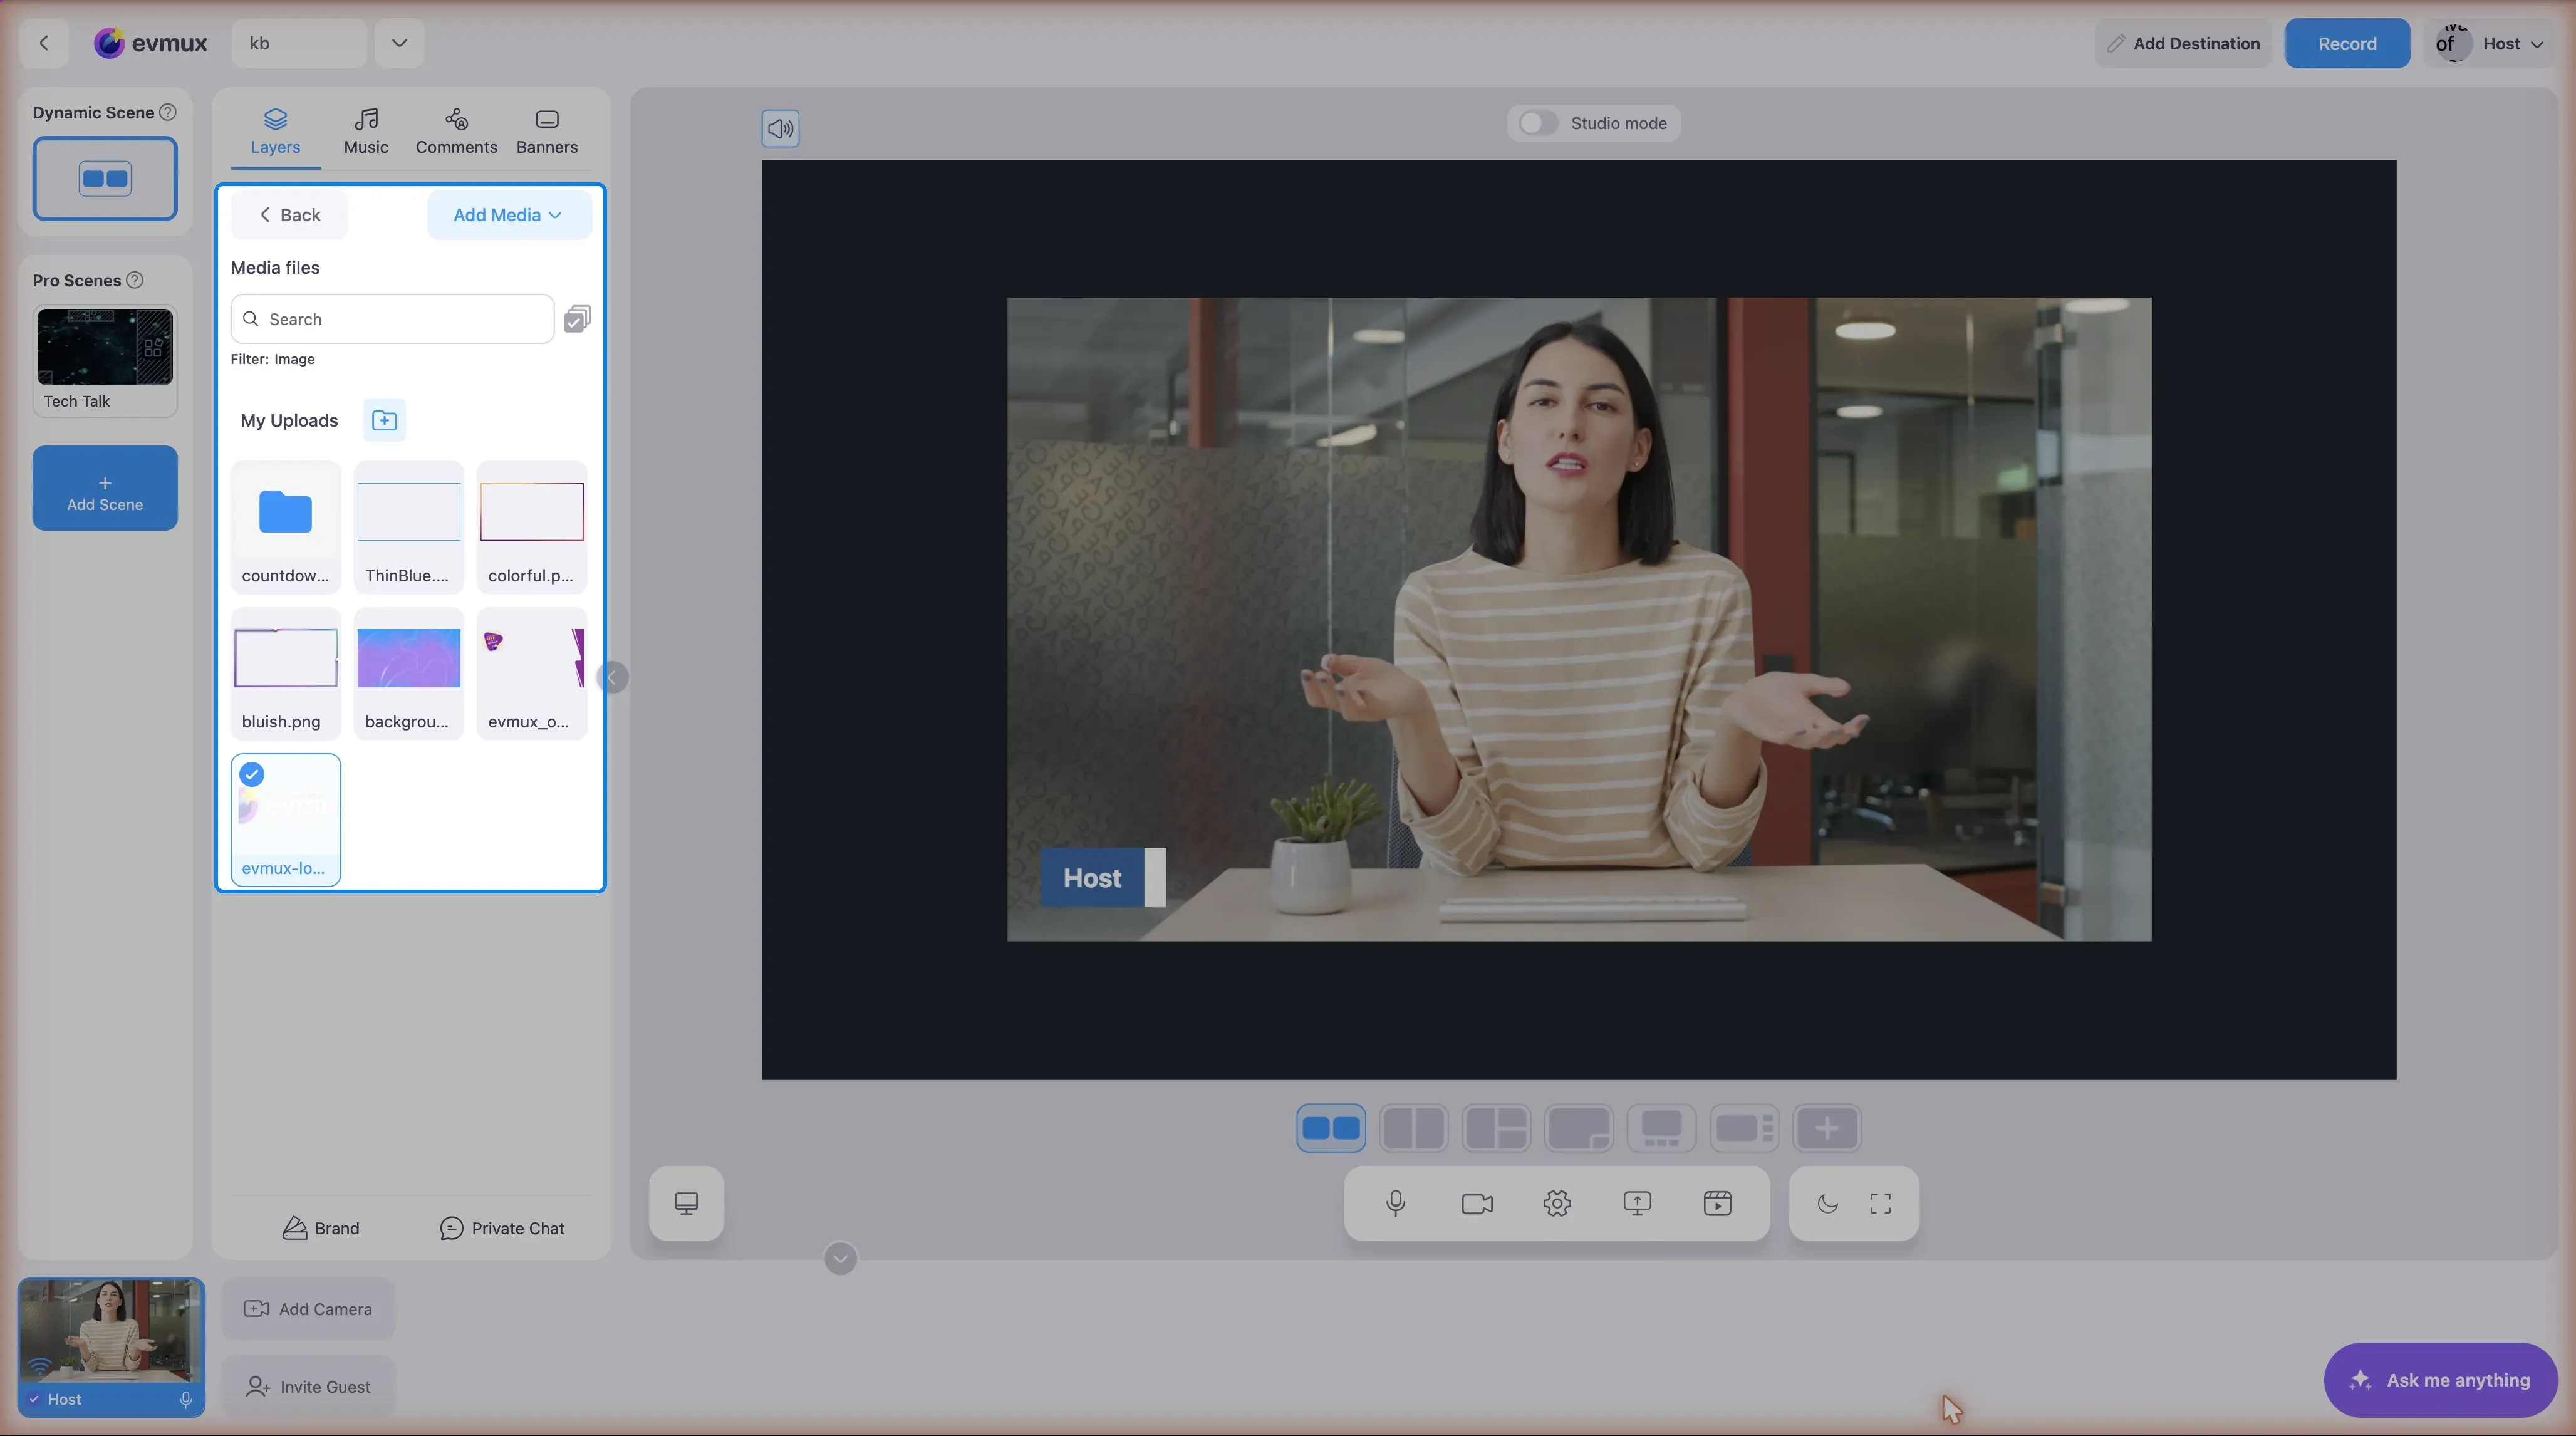
Option B: Upload New Logo
- In the Logo section, upload a new image file
- Supported formats: PNG, JPG, JPEG
- Recommended size: 200x200 pixels
- Tip: Use PNG with transparent background
Step 3: Activate Your Logo
- Click on one of your uploaded logos in the list
- The logo appears in the top-right corner of the scene
- Click again to deactivate (hide) the logo
Step 4: Adjust Logo Size (Paid Plans)
- Use the Logo size slider in the Logo section
- Drag to increase or decrease size
- Maximum size: 550px
- Note: Free plans cannot change logo size
Logo Position
The logo always appears in the top-right corner of the Dynamic Scene. The position is fixed and cannot be changed.
Method 2: Using an Image Layer (Alternative)
If you need a logo in a Pro Scene (not Dynamic Scene), or need custom positioning:
- Click Add New Layer in the Layers panel
- Select Media Files
- Upload your logo image
- Position the image layer wherever you want
- Bring to front if needed
Plan Restrictions
| Feature | Free Plan | Paid Plans |
|---|---|---|
| Use default logo | Yes | Yes |
| Upload custom logo | No | Yes |
| Change logo | No | Yes |
| Adjust logo size | No | Yes |
Logo Best Practices
File Preparation
- Format: PNG with transparent background
- Size: 300-500px wide (will scale down)
- Color: Consider how it looks on various backgrounds
- Contrast: Ensure visibility on both dark and light content
Positioning
- Corner placement is most common
- Don’t cover important action areas
- Leave safe margins (don’t touch edges)
- Be consistent across scenes
Sizing
- Large enough to be recognizable
- Small enough not to distract
- Typically 8-15% of screen width
- Adjust based on your content
Adding Logo to All Scenes
To have your logo on every scene:
Option A: Copy to Each Scene
- Add logo to one scene
- Select the logo layer
- Copy (Ctrl+C)
- Switch to next scene
- Paste (Ctrl+V)
- Repeat for all scenes
Option B: Template Scene
- Create a scene with just the logo
- Use as starting point for new scenes
- Duplicate and add other content
Animated Logos
For video logos (animated logos):
- Add as Video layer instead of Image
- Upload MP4 or WebM with transparency
- Set to Loop for continuous animation
- Position same as static logos
Troubleshooting
Logo has white/colored background?
- Use PNG with transparent background
- Edit in image software to remove background
- Use chromakey if video logo with green screen
Logo appears behind other content?
- Bring logo to front (right-click > Bring to Front)
- Check z-index/layer order
- Move to top of Layers panel list
Logo is pixelated/blurry?
- Upload a higher resolution version
- Don’t scale up small images
- Source file should be at least 2x display size
Logo not showing on stream?
- Verify layer is visible (eye icon)
- Check it’s not cropped out of view
- Verify position is on-screen
Logo covers important content?
- Make logo smaller
- Move to less obtrusive corner
- Reduce opacity slightly
Logo Settings
Opacity
- 100% = Fully visible
- 80-90% = Slightly see-through (subtle)
- 50-70% = Watermark style
Border Radius
- 0 = Sharp corners
- Small value = Rounded corners
- Half of width = Circle (for square logos)
Plan Considerations
- Some plans have a watermark on free tier
- Premium plans allow custom logos
- Check your plan for logo layer availability