
Sample app
A small demo app in plain JavaScript that shows the widget app lifecycle. Clone it, run it locally and build it for upload.
The demo app
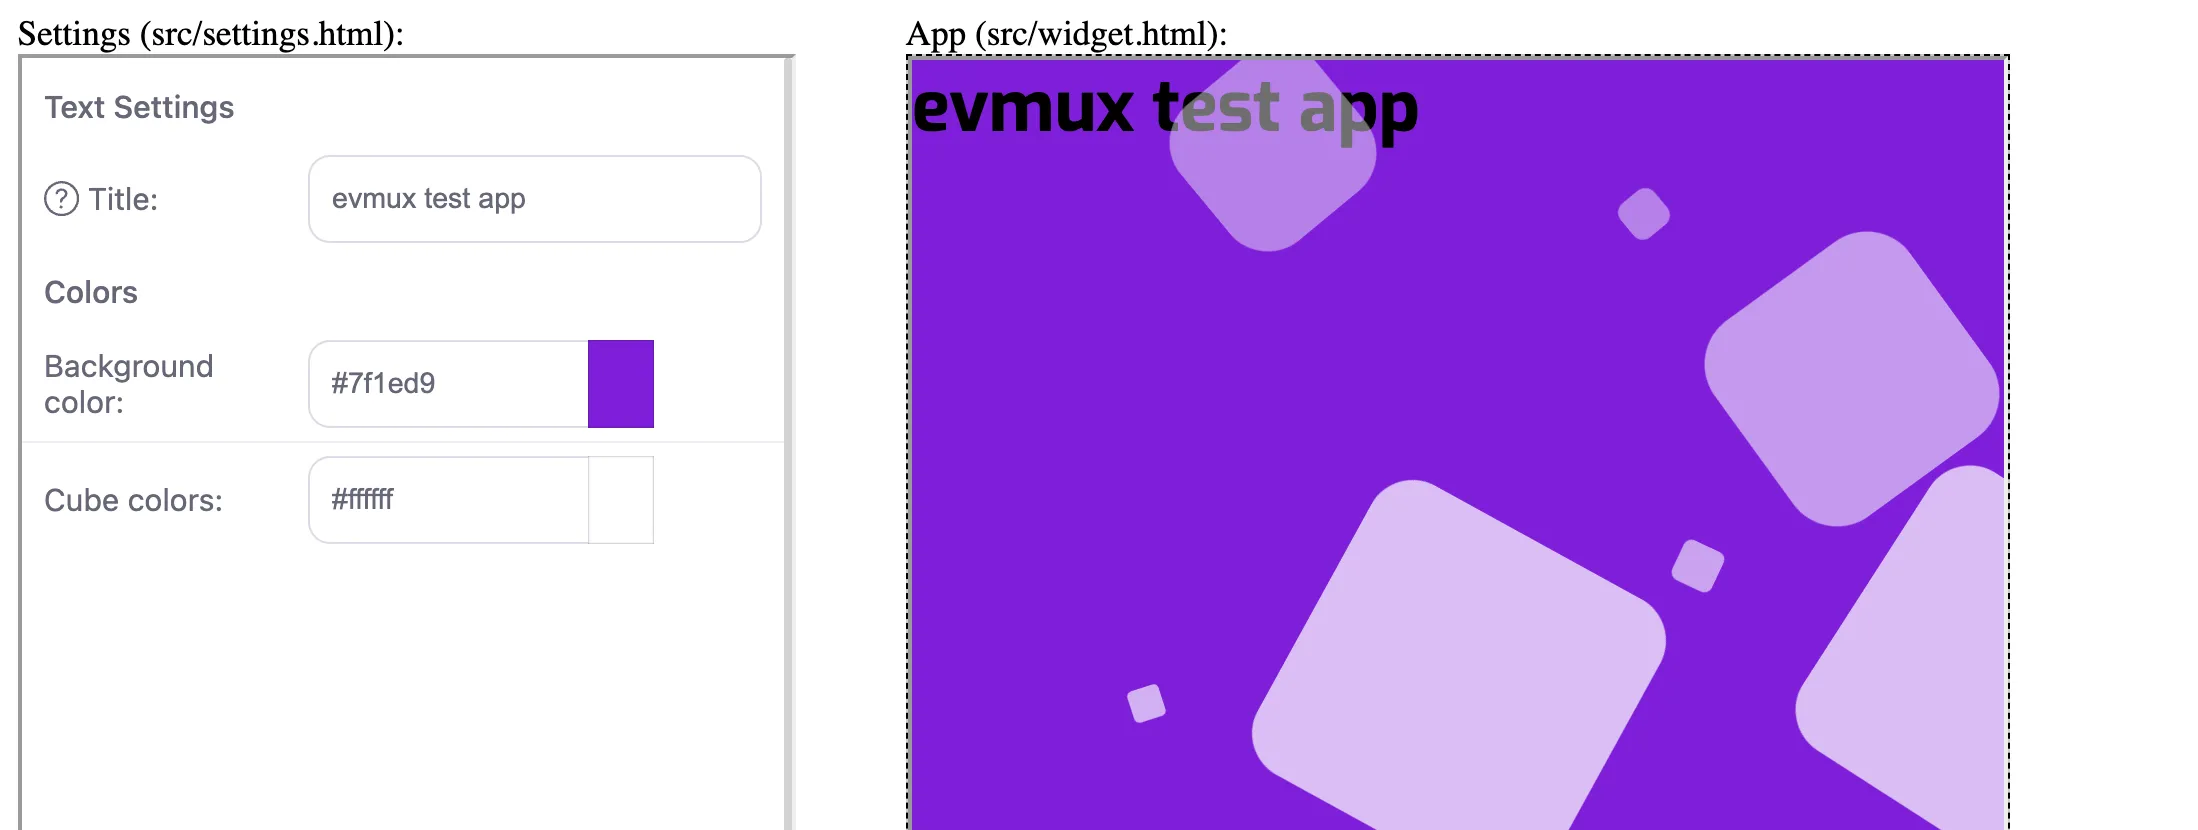
We built a very simple demo app to show the lifecycle of a widget app. It is plain JavaScript, with no framework.
The code is on GitHub: evmuxApps/sampleAppJs.
Run it locally
git clone https://github.com/evmuxApps/sampleAppJs
cd sampleAppJs
npm install

npm run dev
The dev server opens a test page that shows your settings page and your widget side by side, the way the studio does.
Edit the widget and the settings
Two pairs of files in src make up your app:
| File | What it does |
|---|---|
widget.html with widget.js |
Renders the actual widget in the scene. In general it gets the settings, listens to events and renders itself accordingly. |
settings.html with settings.js |
Configures the settings object. |
The widget
The widget reads the settings, redraws when they change, and tells evmux when it is ready to be shown:
import EvmuxAppsApi from 'evmux-app-framework/src/EvmuxAppsApi/EvmuxAppsApi'

const api = new EvmuxAppsApi()

const render = (settings) => {
  document.getElementById('textToDisplay').innerText = settings.title
  document.querySelector('.area').style.backgroundColor = settings.backgroundColor
}

api.registerEvent('settingsUpdated', (eventName, settings) => render(settings))

api.getSettings().then((res) => {
  if (res.response) render(res.response)
  api.reportLoaded()
})
The settings
The settings page loads the saved settings, falls back to defaults on first use, and saves every change:
import EvmuxAppsApi from 'evmux-app-framework/src/EvmuxAppsApi/EvmuxAppsApi'

const api = new EvmuxAppsApi()

let appSettings = {
  title: 'evmux test app',
  backgroundColor: '#7f1ed9',
  cubeColor: '#ffffff',
}

api.getSettings().then((res) => {
  appSettings = res.response || appSettings

  const title = document.getElementById('myTextToDetect')
  title.value = appSettings.title
  title.addEventListener('change', () => {
    appSettings.title = title.value
    api.updateSettings(appSettings)
  })
})
Build for submission
npm run build:prodAfter the build, your output is in the dist folder. Zip its content and upload the zip in the App versions section of the Developer Center. See Create an app.
Zip the files themselves, not the folder that holds them.
settings.htmlandwidget.htmlmust be at the top level of the zip.
Stuck, or found a mistake in these docs? Tell us.